Assembling the Kossel Mini - 3D Printer
I've been 3D printing since early 2007, but I've never had a printer of my own. I either used one at the college when I had access, or I sent off my design files to companies like Shapeways to create my prints.
I decided to fix this and finally get my own printer. Originally I was going to design and scratch build a printer, but after building up a parts list and looking at the cost, it made more sense to buy a kit. The kit I got was for a Kossel Mini, which is a delta style printer. You can find more information about it here: http://reprap.org/wiki/Kossel
I'll be posting videos will be up on my YouTube channel soon incorporating 3D printing along with my other content!


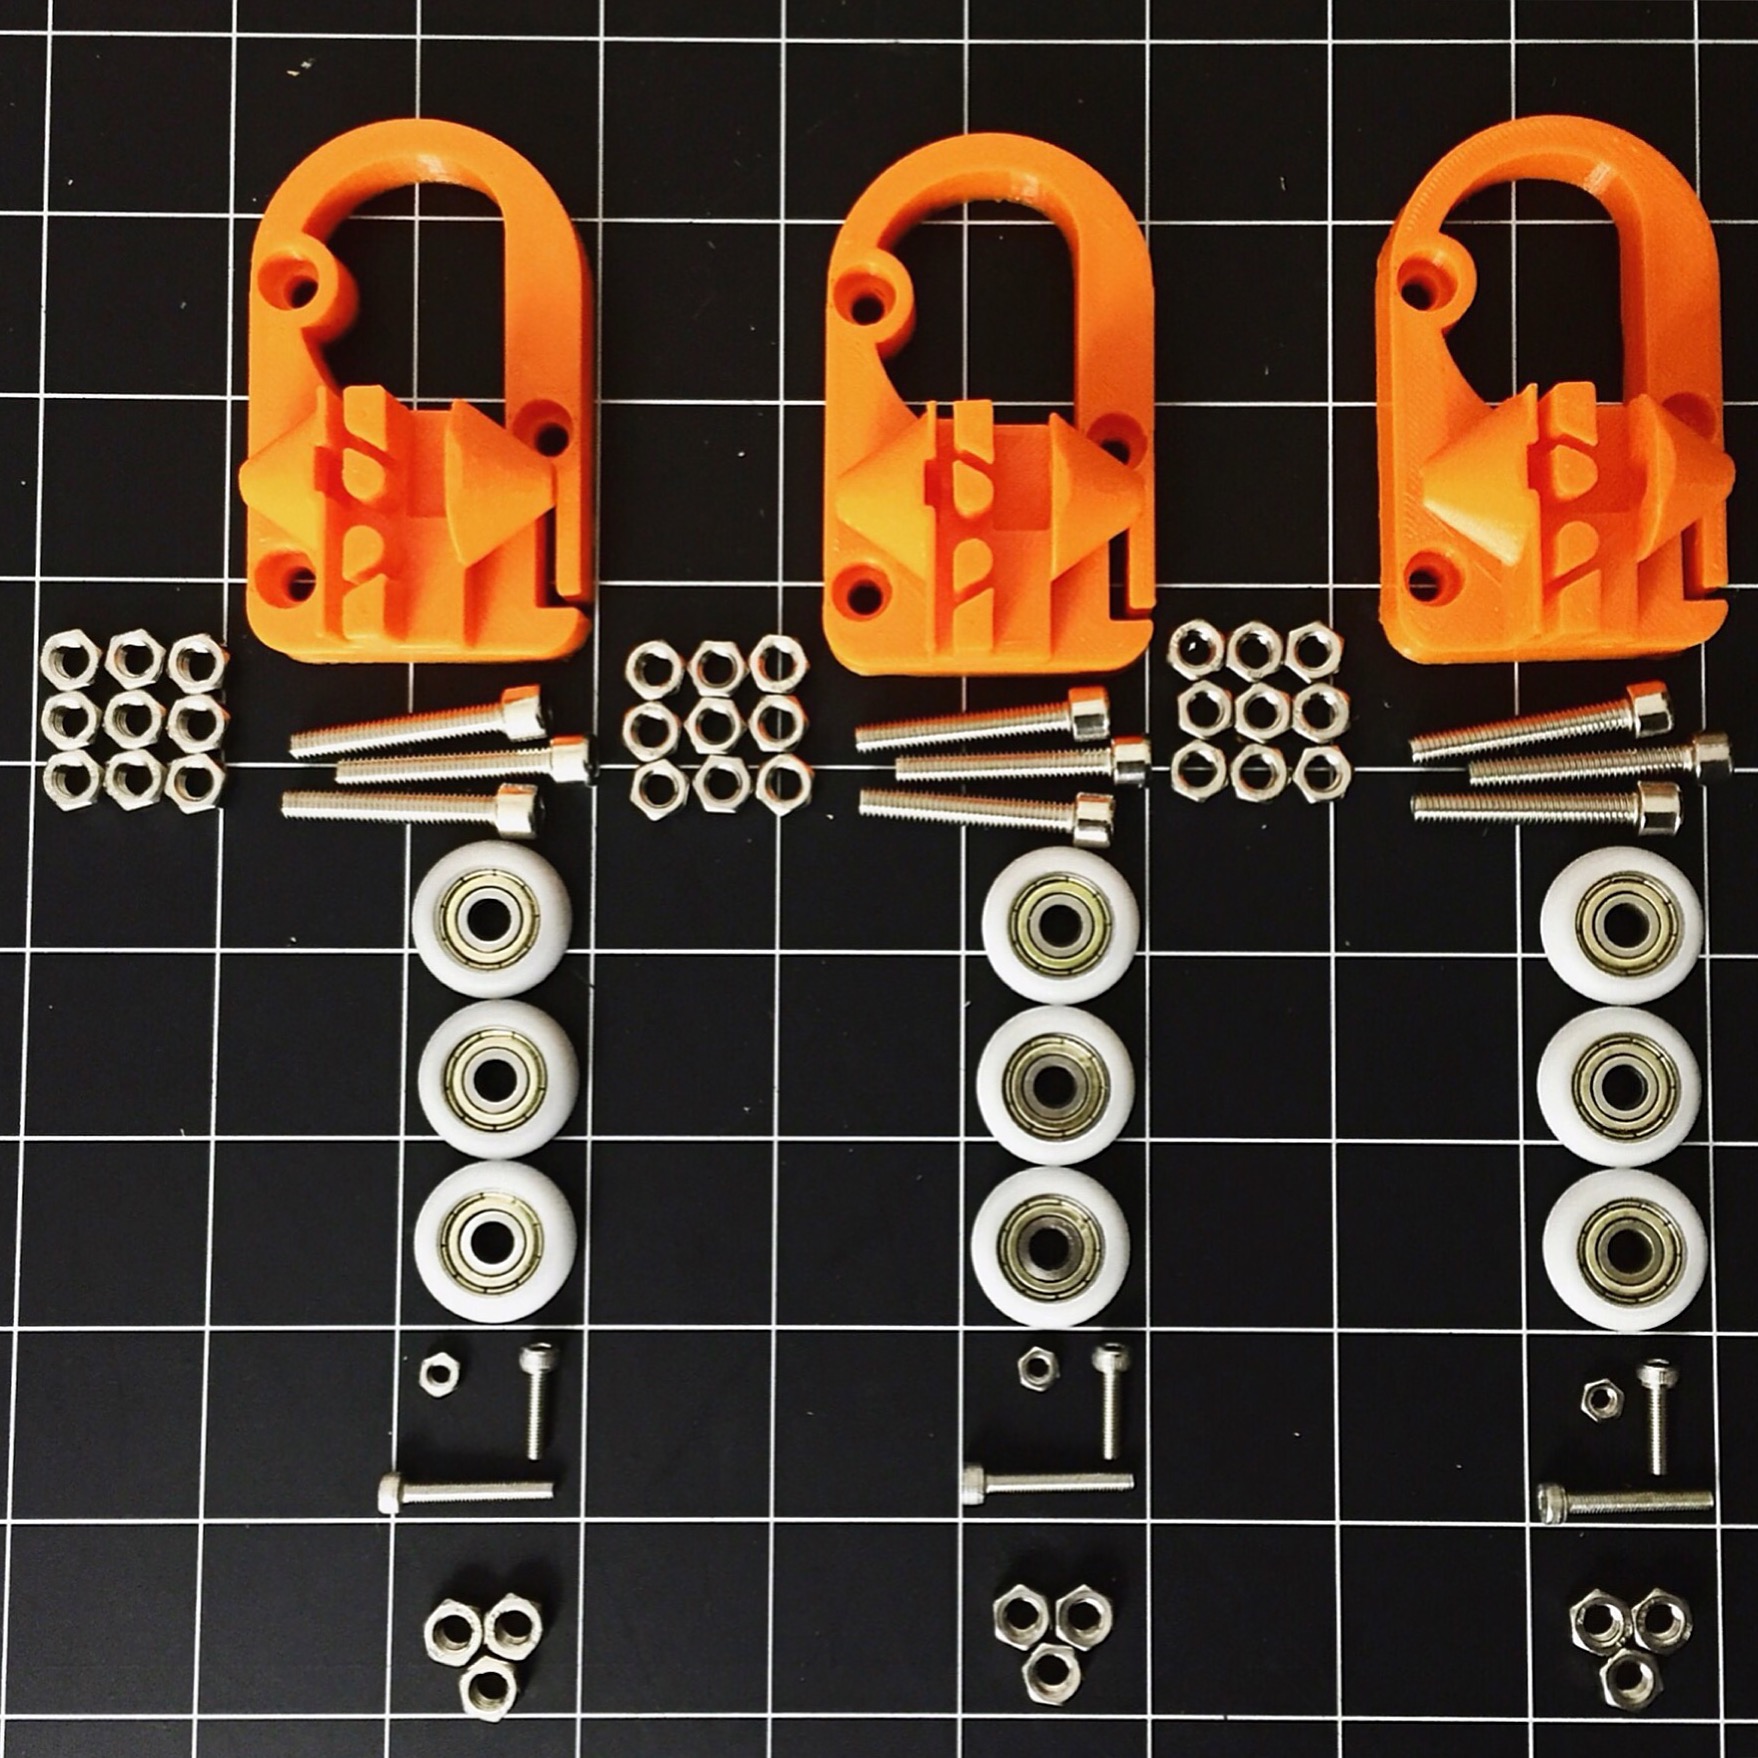
The first components that I put together were the sliders that mount on the vertical supports. These came as 3D printed pieces with decent hardware. The wheels roll right inside the aluminum vertical supports.


The first upgrade came into play here. I wanted to minimize the noise and vibration coming from the stepper motors. So I picked up these isolation mounts. They have a stiff rubber gasket between the flanges and really quiet things down. A bit pricey, but I think they are worth it.


I ordered a very cheap kit from AliExpress. I went into this knowing ahead of time that this would be a very low end kit, and planned on doing major upgrades and modifications as I went. This would allow me to pick exactly what I want, and learn as I go.
The kit came in a few weeks and contained a mountain of boxes and parts. There are a ton of build videos on YouTube of this printer if you want to see the whole process.
Everything came really nicely packaged and labeled, and included a handful of extra of each type of fastener.
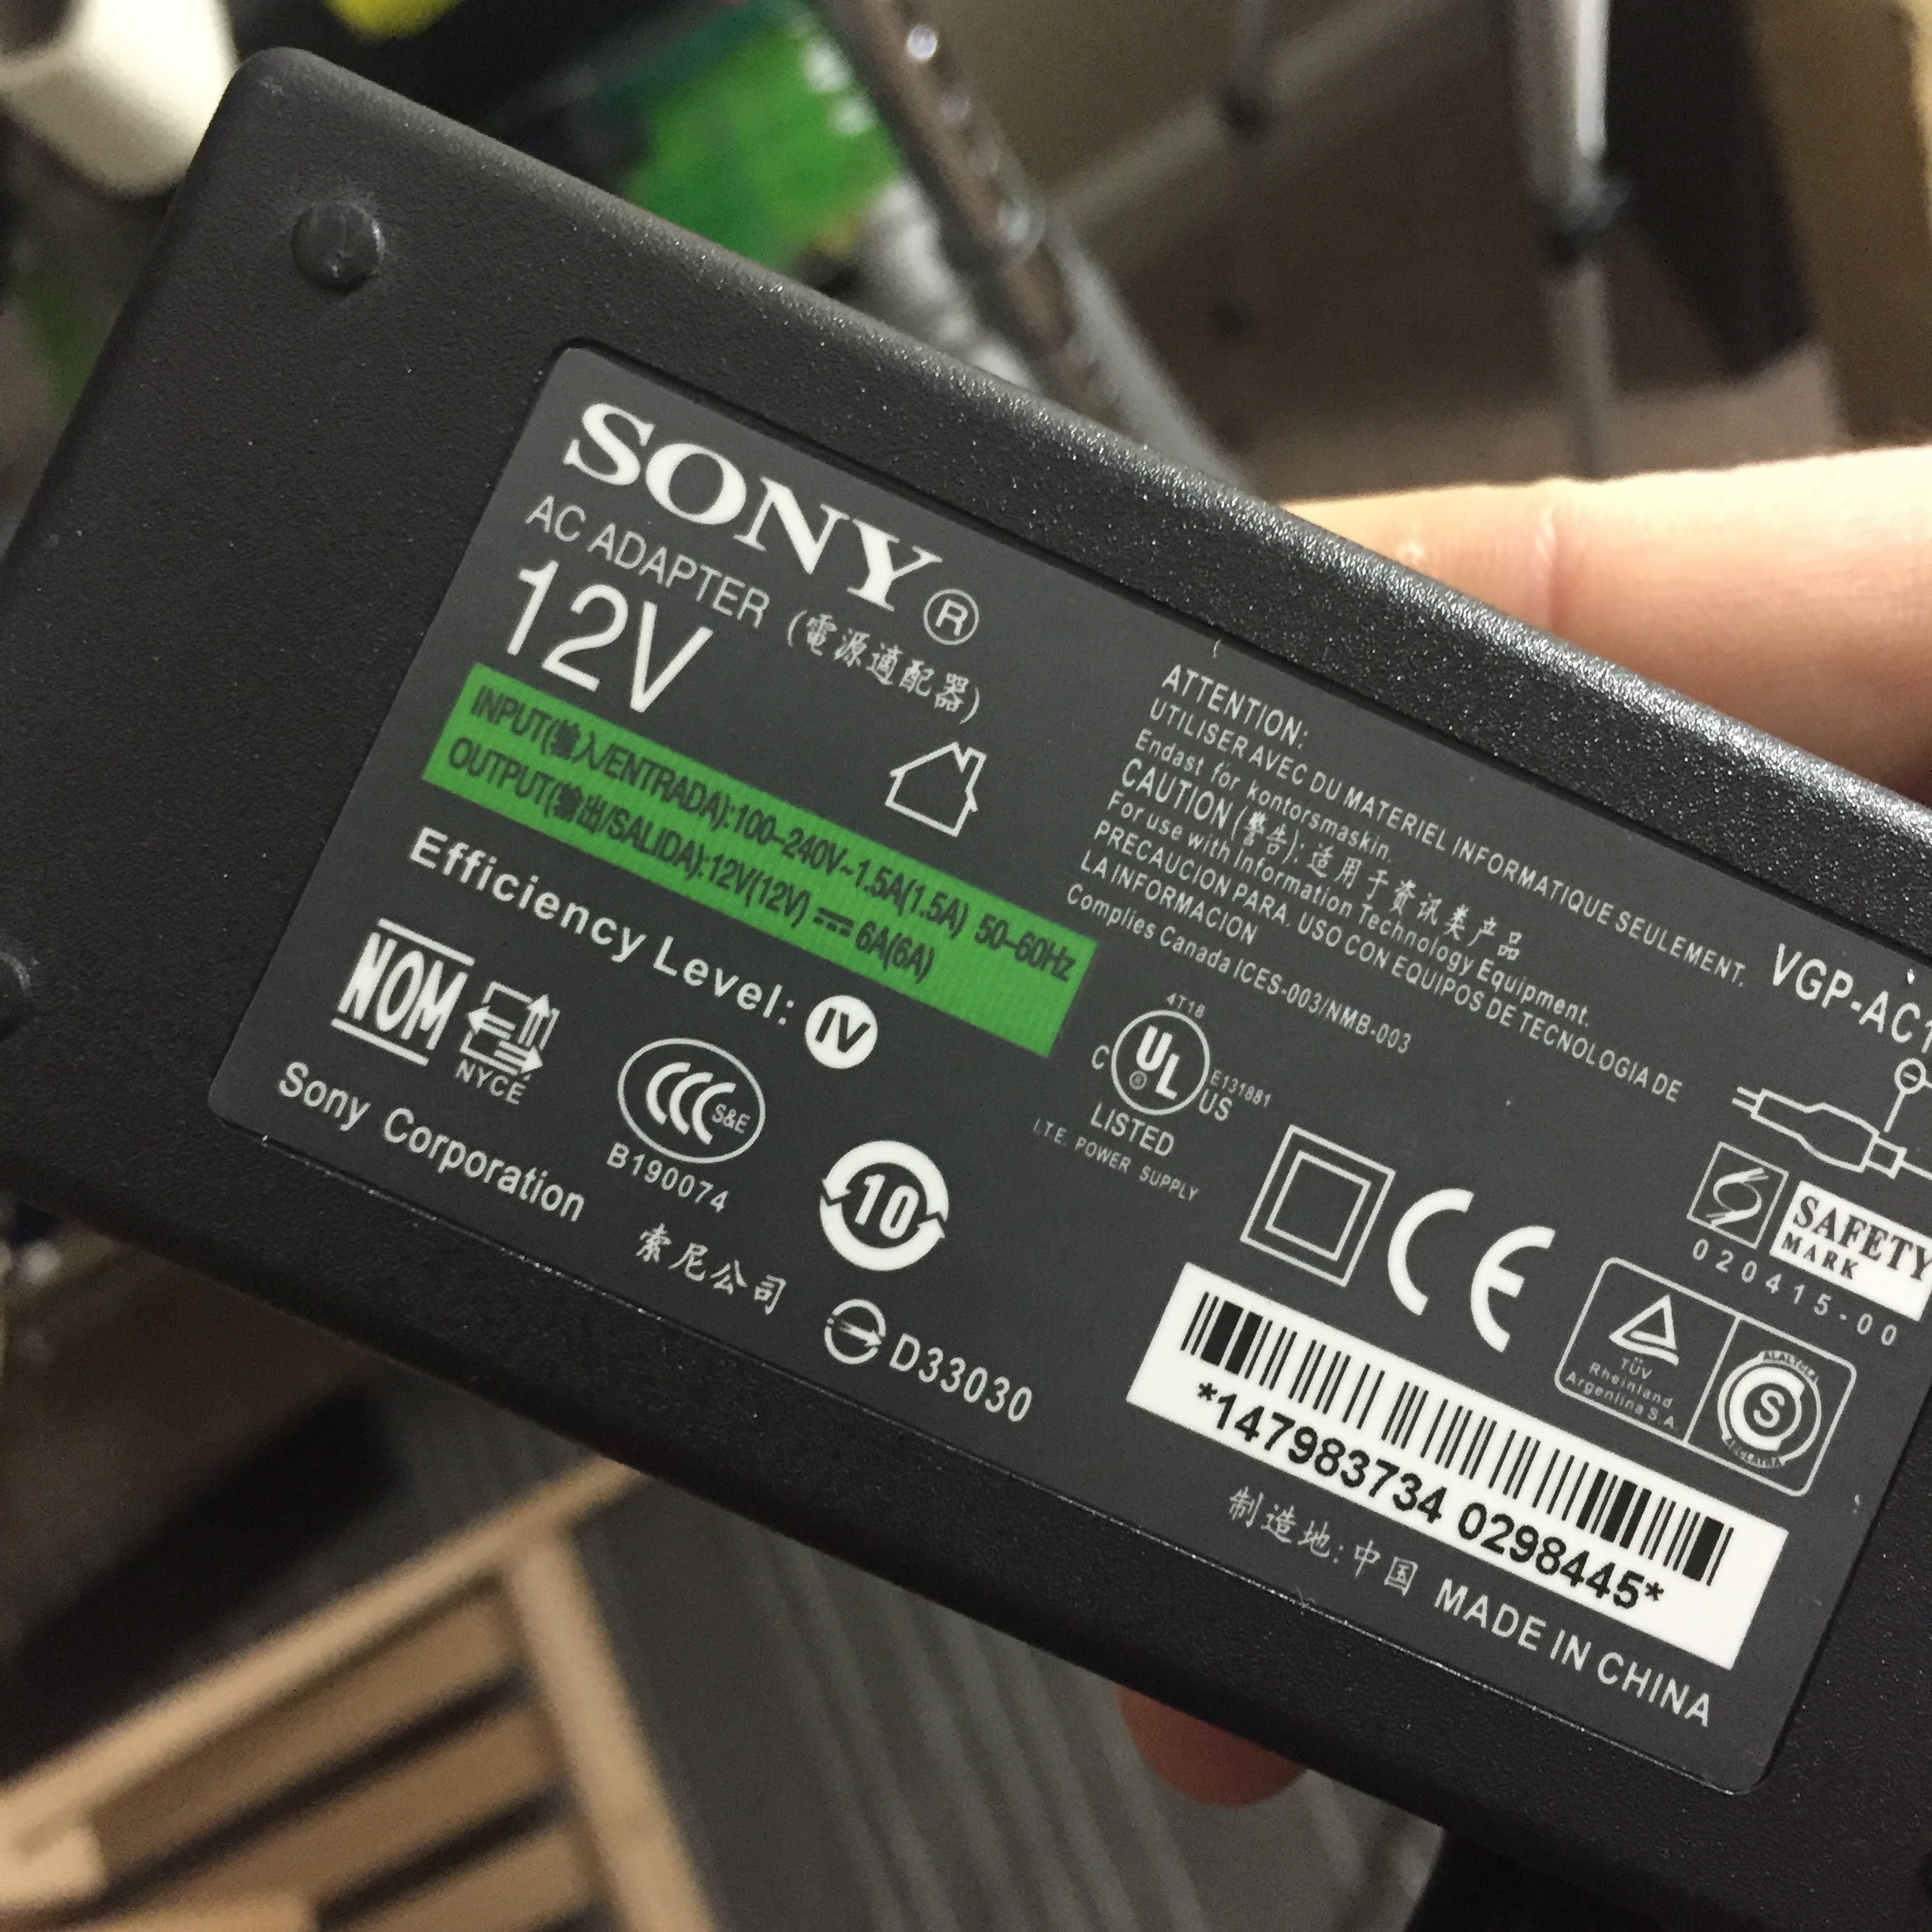
The only real issue I had with the kit was the power supply. It came with a european style plug, which is not a huge problem, but the amperage of the supply is! It was only rated for 5 amps. This is definitely not enough to reliably run the stepper motors, hot end, electronics, fans, etc. let alone the possible upgrade of a heated bed.
So this was my first upgrade. I headed to Amazon and picked up a 12amp laptop power supply, which should be more than enough for printing PLA without a heated bed.

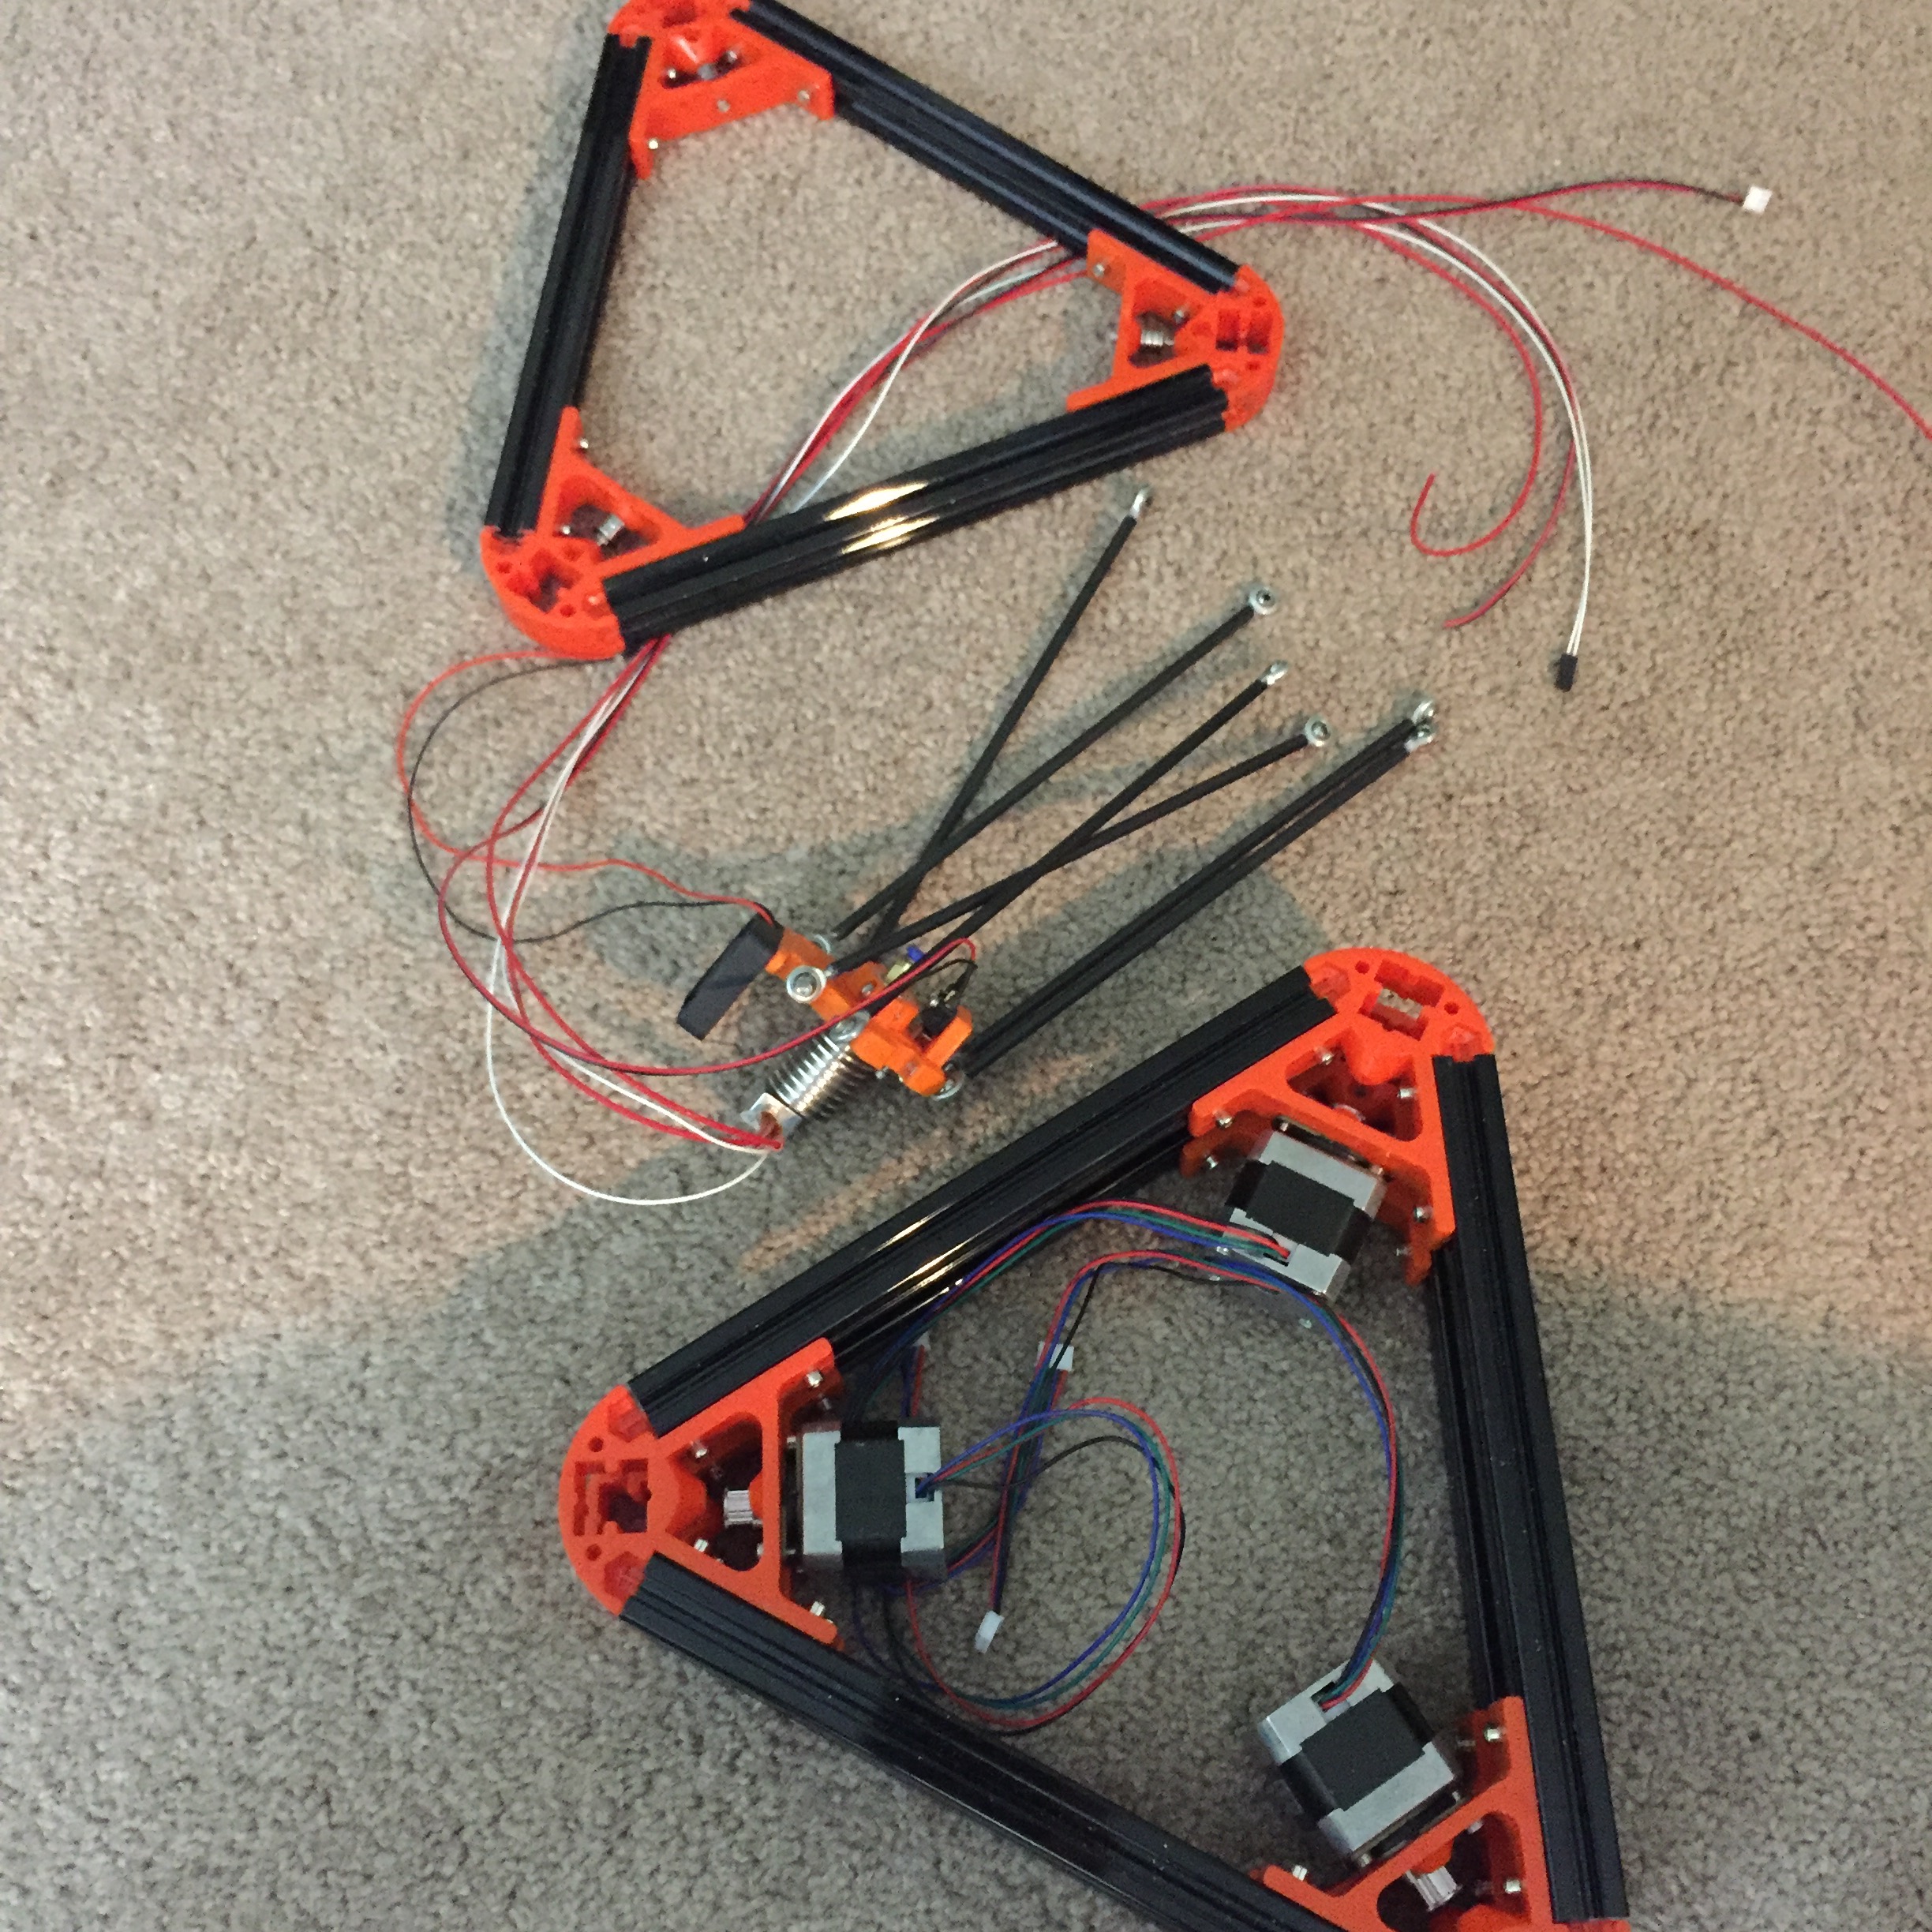
Next I put together the bottom and top assemblies, as well as the hot end and linkage. The hot end that came with the kit was a very generic version. It worked 'ok' but not amazing. I've since upgraded to a E3D lite6 hot end, which was a huge upgrade.
The corner supports are all injection molded plastic, and the hot end carriage is mounted on carbon fiber linkages.

Next I mounted the sliders, carriage and vertical supports together and moved on to the electronics.
They were fairly straight forward. The instructions that came with the kit had everything laid out well, and there's not a whole lot to plugging it all in. Cable management is really the most difficult part!

The final component to assemble was the extruder. It was also 3D printed ABS, and included all the needed hardware. This is a Bowden style extruder, which means it's located away from the hot end of the printer and pushes the filament through a tube from the back of the printer to the hot end.
This works fine, but there are some issues with this that I'll look at later.
That's about it for the initial setup of this printer! Here is a small sample of a few of the pieces I've printed. Initially the print quality was terrible, but after a good deal of tuning, and upgrades It's really turning out some nice prints!
I'll cover some more of the upgrades in later posts and videos!
Initially the printer was around $250 for the kit, but I've put in at least that much in upgrades and additional parts, which puts it about on par for a decent low end printer.
I'll be using this printer strictly for PLA printing and rough prototyping, as well as a test bed for testing out upgrades.
Stay tuned!