Registration is one of those things that sounds simple until it isn't. A slightly shifted block, a paper that moved just a hair, and suddenly your second color is off and the whole edition feels like a mess. I built this jig because I got tired of that exact frustration.
It's a small tool with a straightforward job: keep your block in the same spot, keep your paper landing in the same spot, and let you focus on the actual printing.
How it works
Place your unmounted lino block in the corner of the jig. Align your paper edge to a grid line and mark it with a small piece of painter's tape. That's your registration point. Every sheet after that hits the same spot, consistently, without fussing with pins or rebuilding a setup from scratch.
The 1/8" laser-cut acrylic grid gives you fine control over placement. The corner alignment holds your block steady for every pull in your edition.
What you get
Material: 1/8" laser-cut acrylic
Dimensions: 4" x 9.25" (external)
Grid: 1/8" increments, labeled every 1/2"
Color options: see available choices above
Processing time: cut to order, typically ships well within 10 business days
Shipping included in price
Works for
Multi-color linocuts, reduction printing, or any edition where consistent registration makes the difference. Works equally well on a press or hand printing with a baren or spoon. If you don't have press access, this jig is just as useful on a table.
Compatible with rubber blocks, wood blocks, and Speedball Speedy-Carve, as long as your block is at least 1/8" thick.
If you're working with mounted lino, I also make a 3/4" 3D printed riser that brings the jig up to block height. You can add it as an option at checkout.
How to use it
Set the jig on your work surface
Tape it down with blue painter's tape if you want it secure (tape not included)
Place your inked block in the corner
Align your paper to the grid line you've chosen
Mark that line with a small piece of tape so you can find it again
Print, repeat, stay registered
The grid is clearly labeled so you can see what you're working with. The corner does the holding. The tape marks do the remembering.
Care
Wipe clean with a damp cloth after printing. Acrylic won't absorb ink and cleans up quickly. Store flat. Avoid harsh solvents, which can cloud the surface over time.
Need a different size?
This jig covers most standard linocut projects. If you're working larger or have something specific in mind, message me and we can talk through custom dimensions.
I designed this out of necessity after years of printing in my own studio. It's the tool I kept wishing existed. If it helps your workflow the way it helped mine, that's what it was made for.
FAQ
Will this work with mounted linoleum blocks? It's designed for unmounted lino. If you're working with mounted blocks, add the 3/4" riser at checkout — it brings the jig up to block height so everything lines up correctly.
What paper sizes work with this? Any size. The jig handles corner alignment, so it works for small prints and large ones equally.
Do I need a printing press? Nope. It works great with a press, but it's just as useful for hand printing with a baren or spoon.
What tape should I use? Blue painter's tape. It holds the jig in place and marks your grid line without damaging your surface. Tape isn't included.
What if I need a larger size? Message me. I'm happy to discuss custom dimensions for bigger projects.

 Image 1 of 20
 Image 2 of 20
 Image 3 of 20
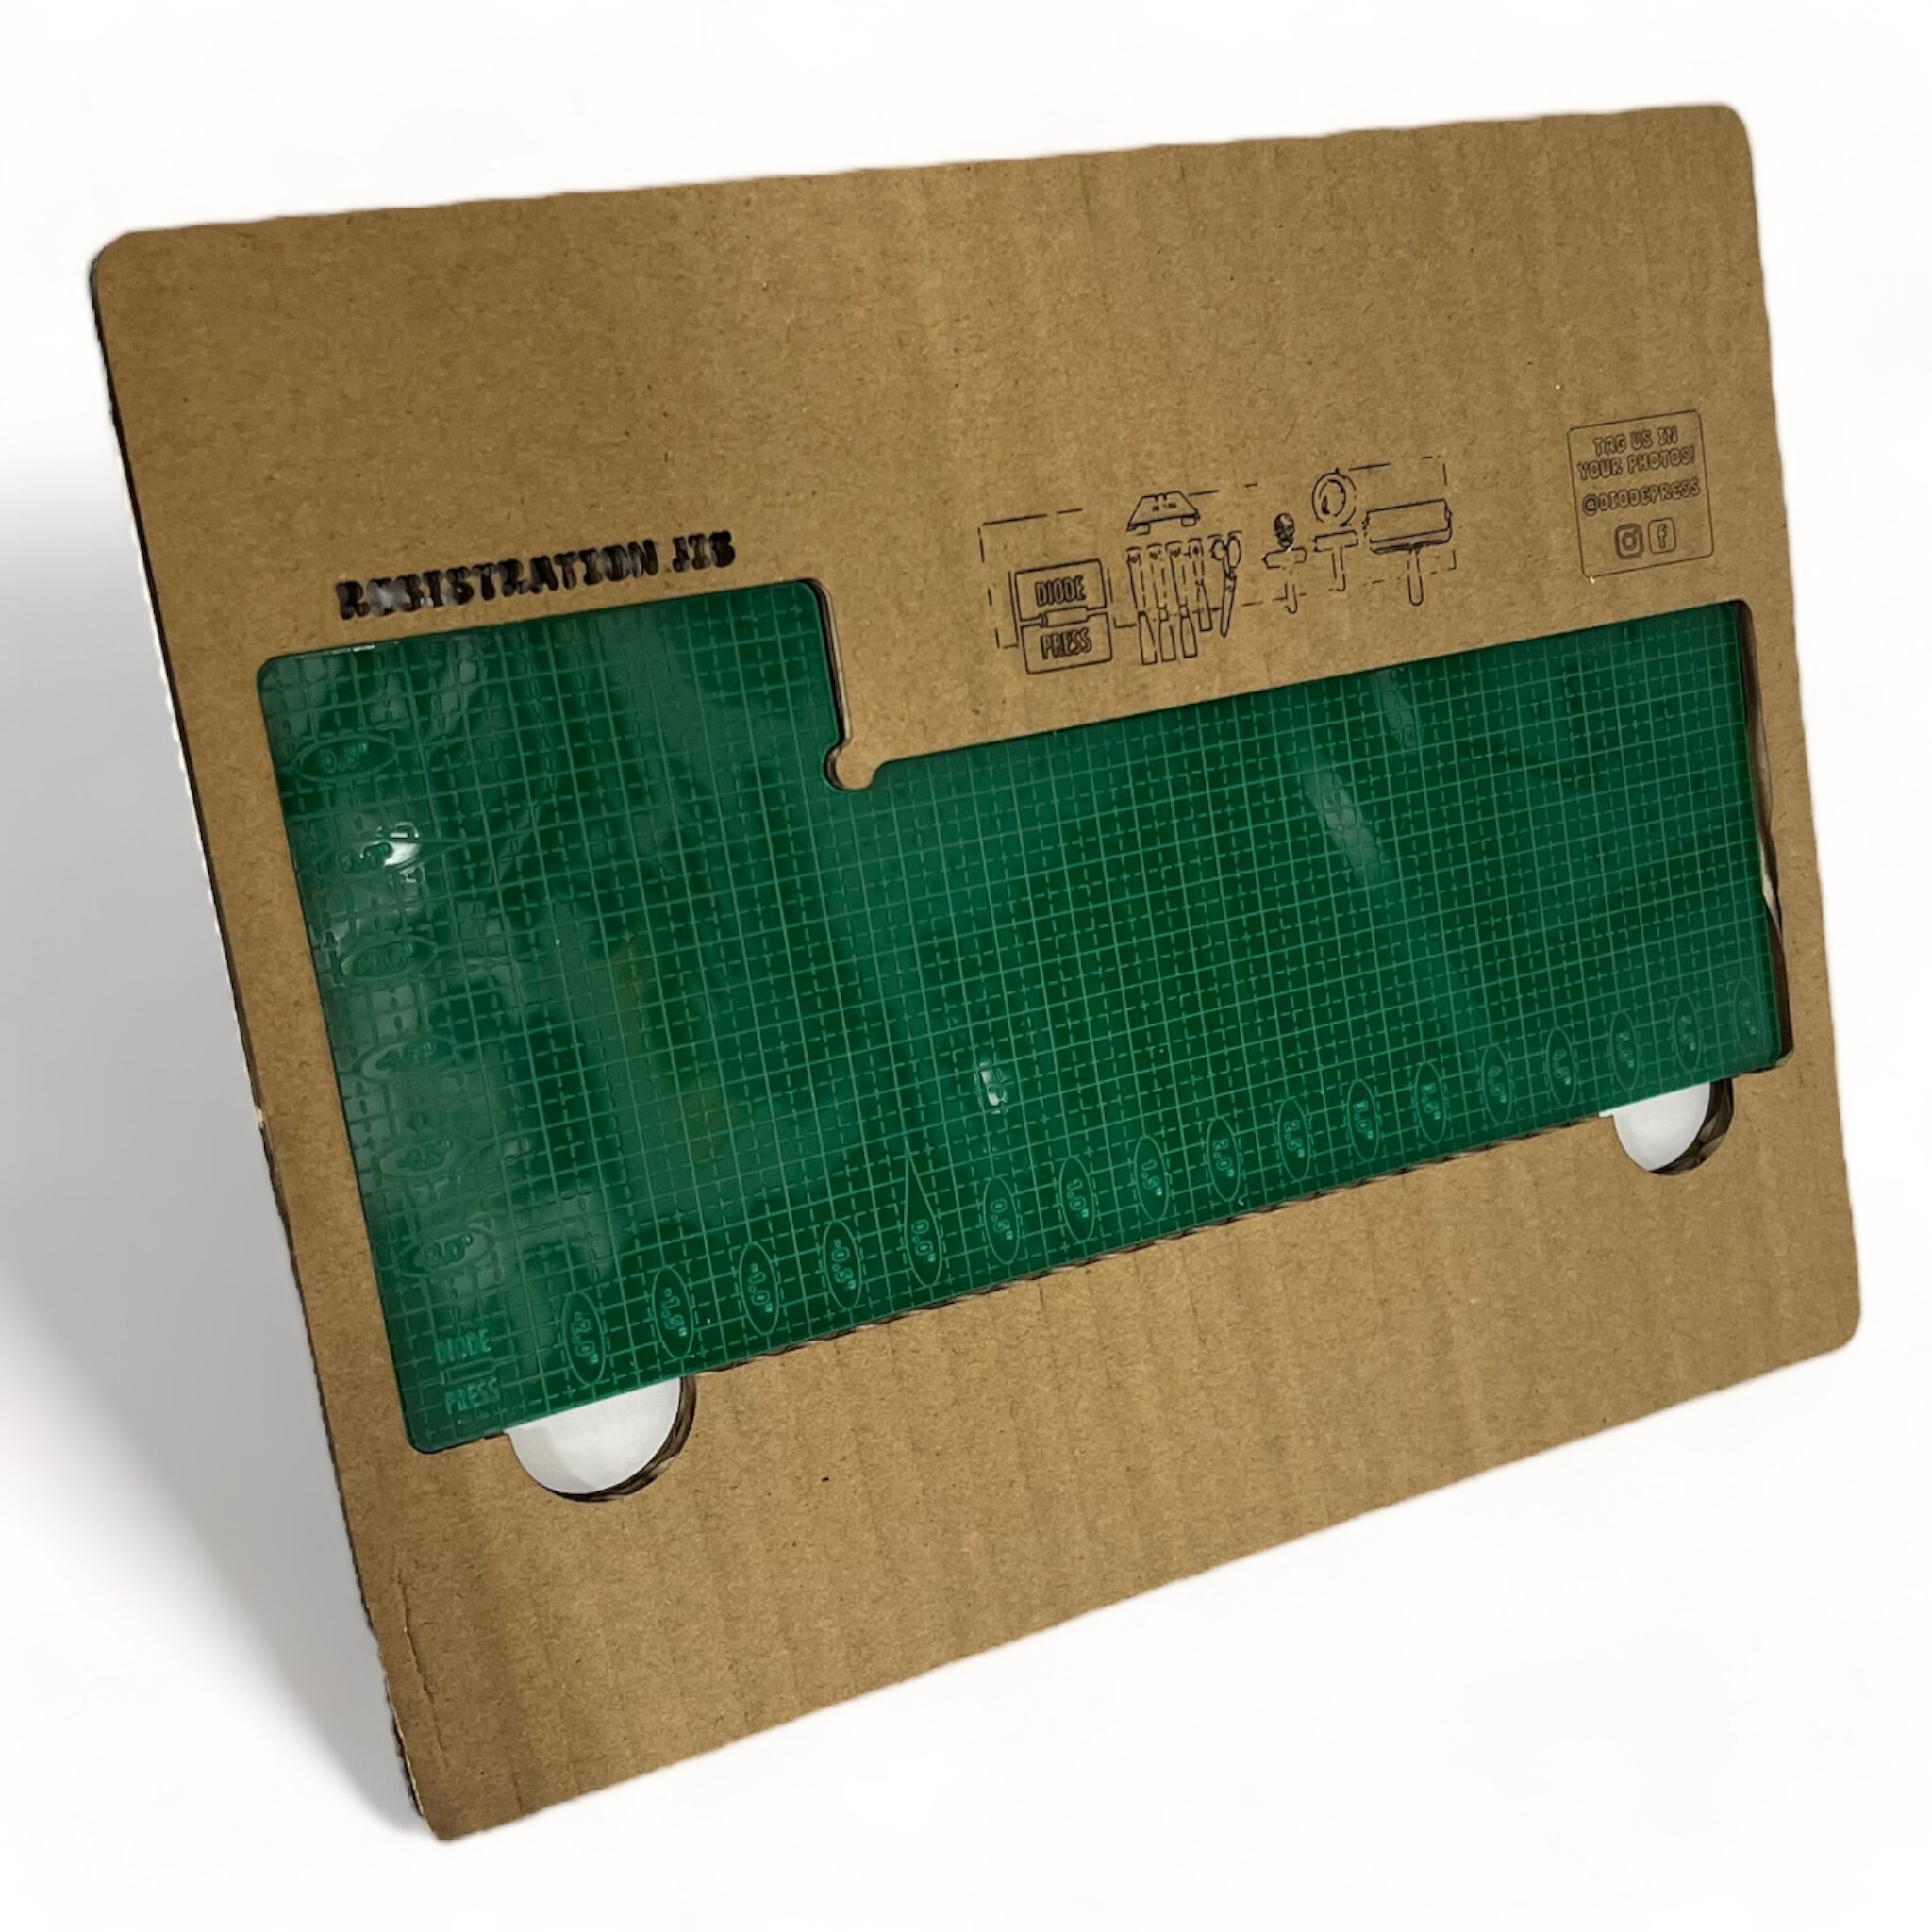 Image 4 of 20
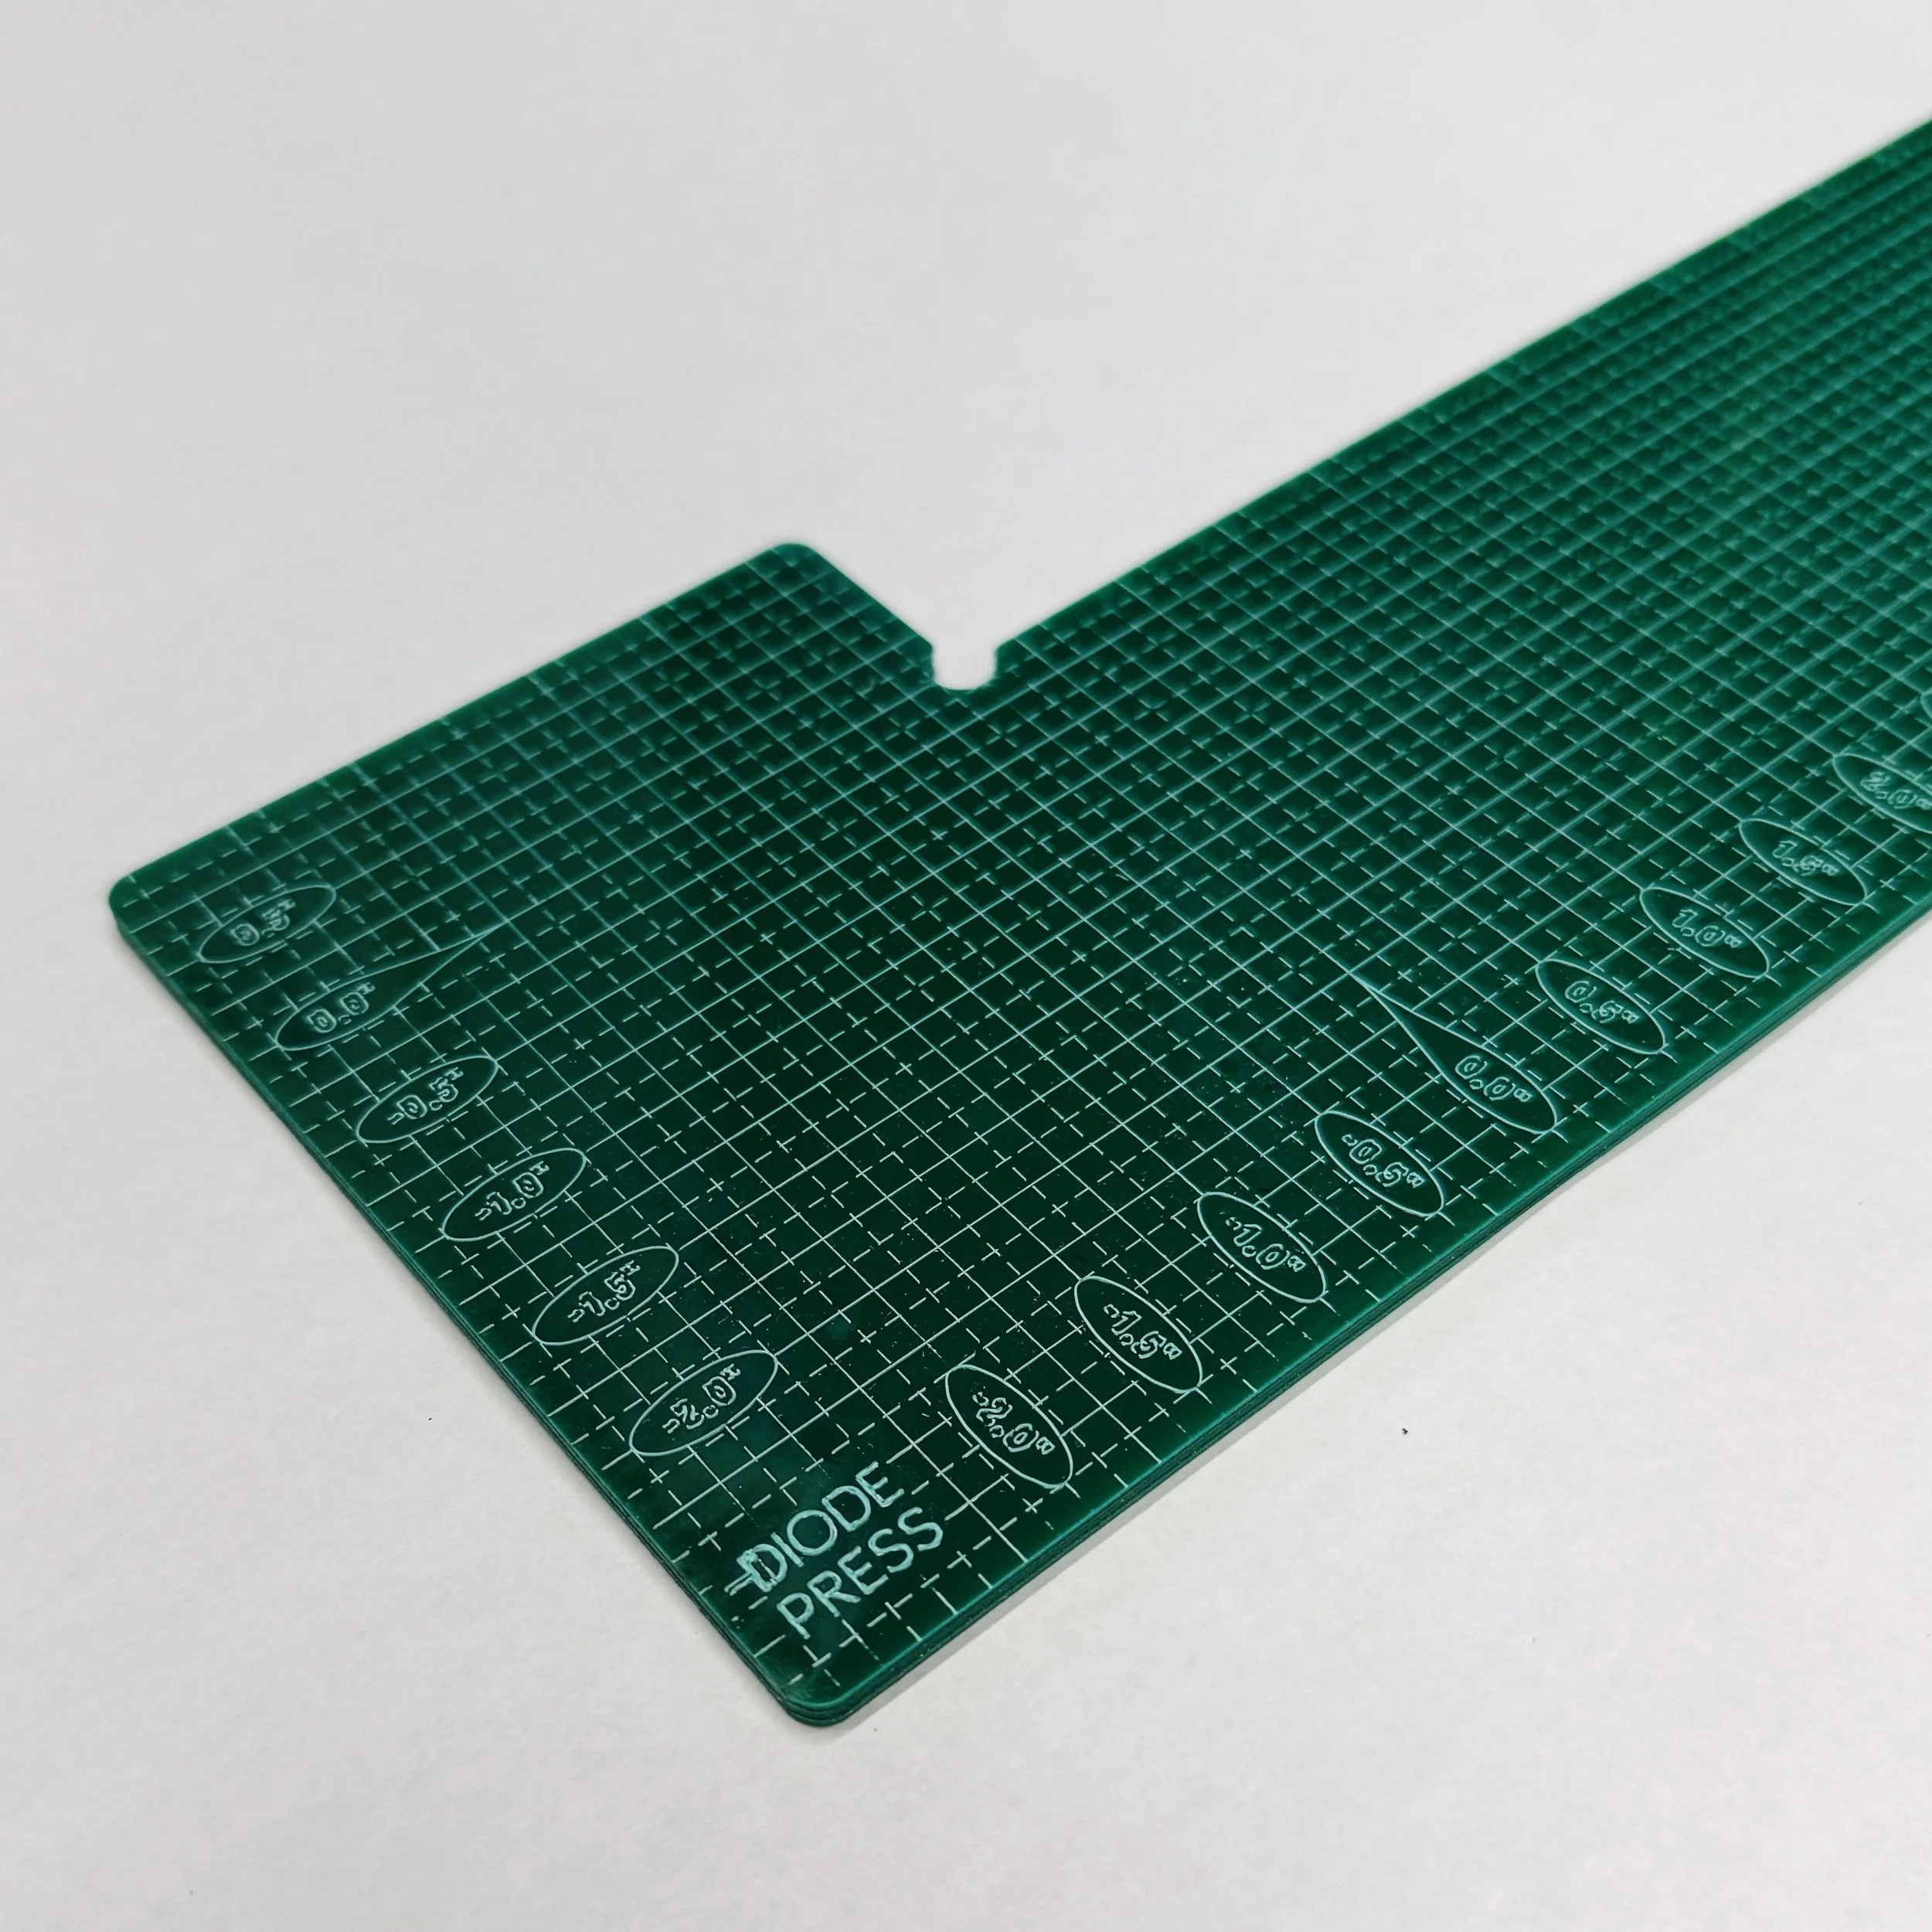 Image 5 of 20
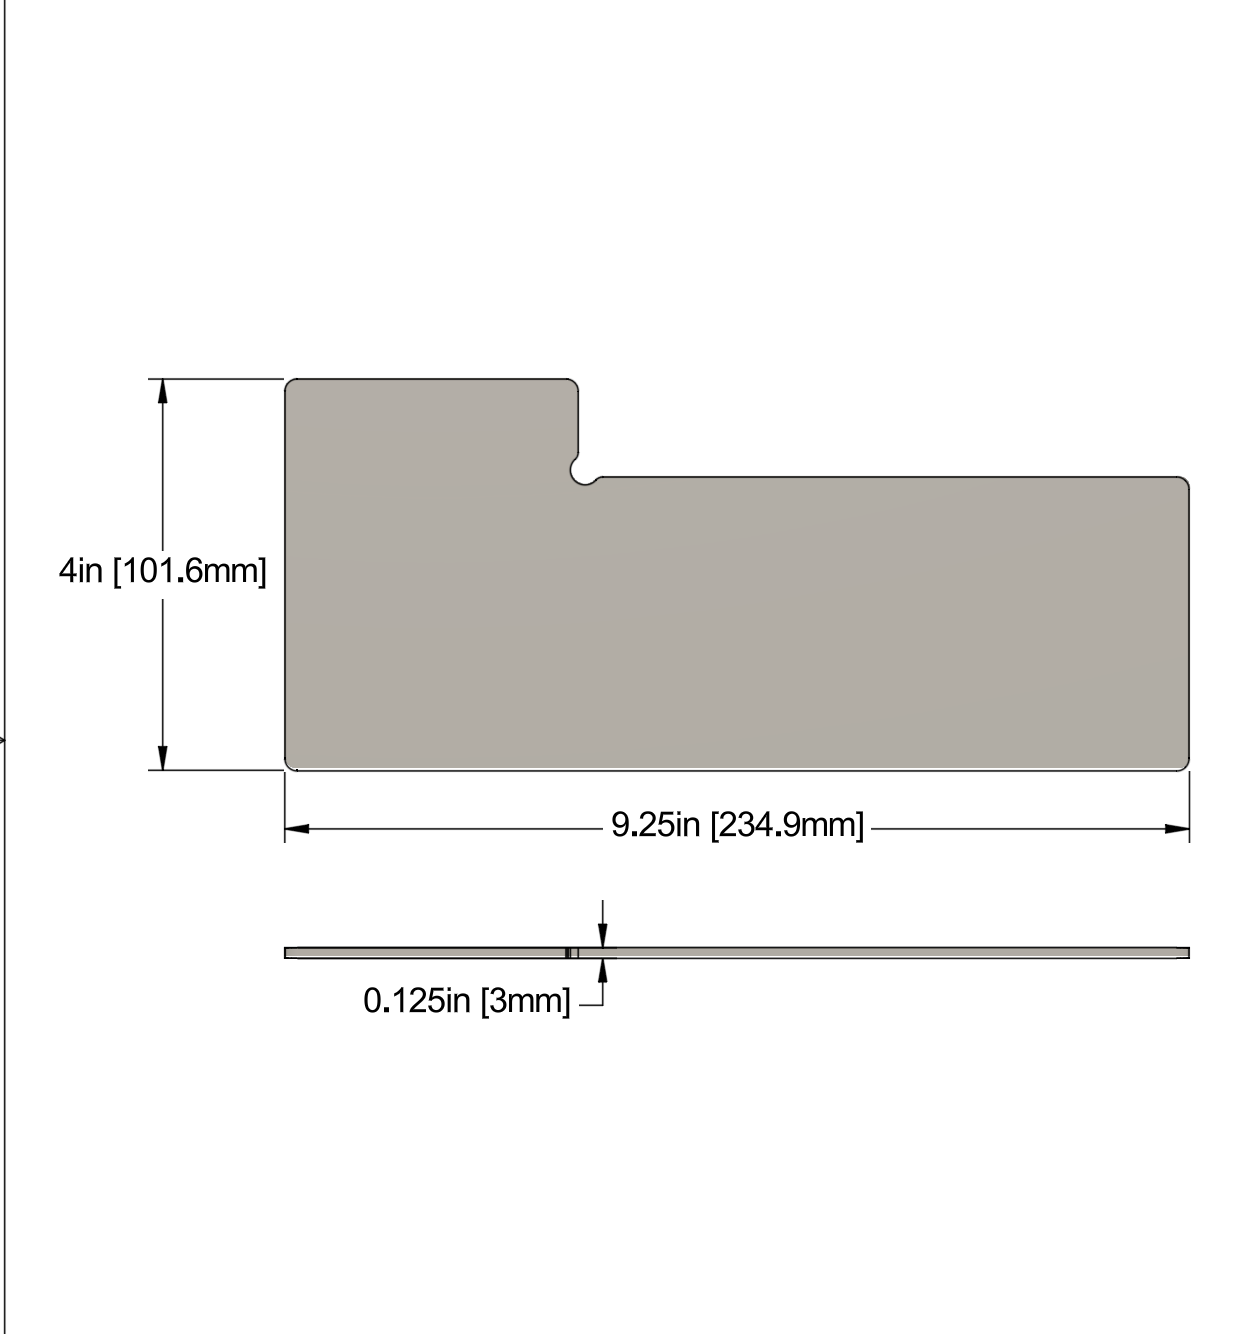 Image 6 of 20
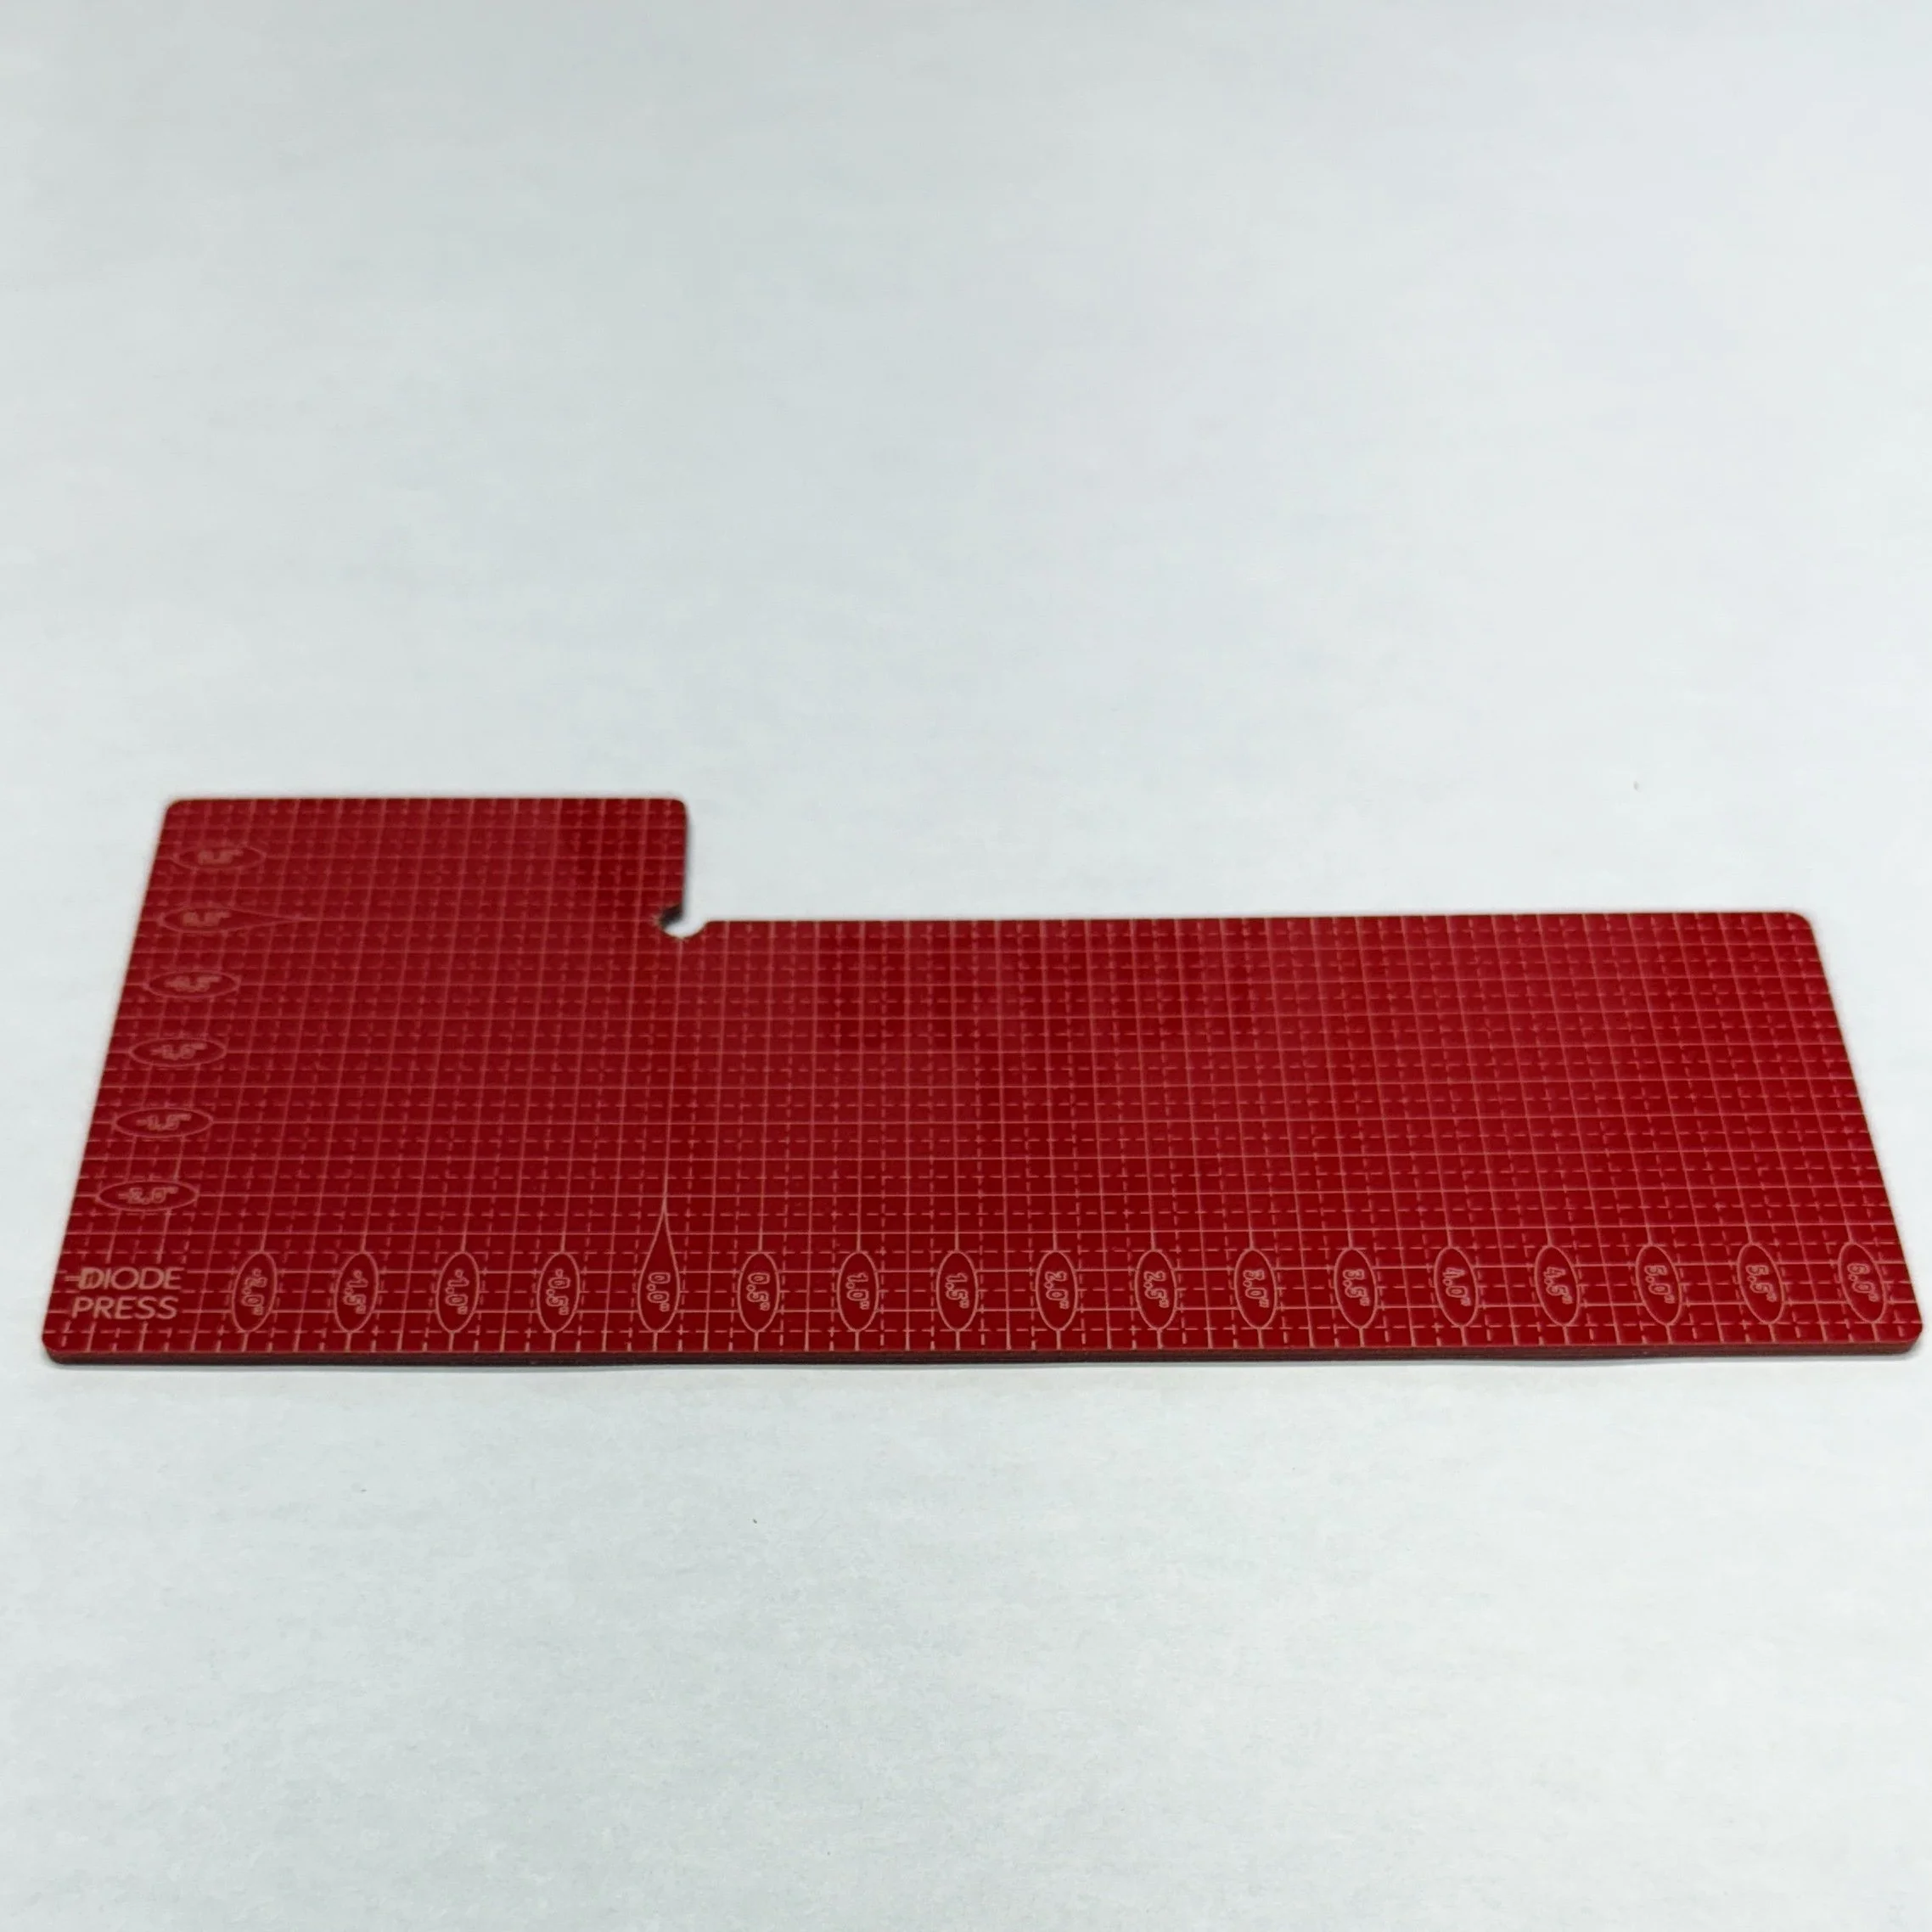 Image 7 of 20
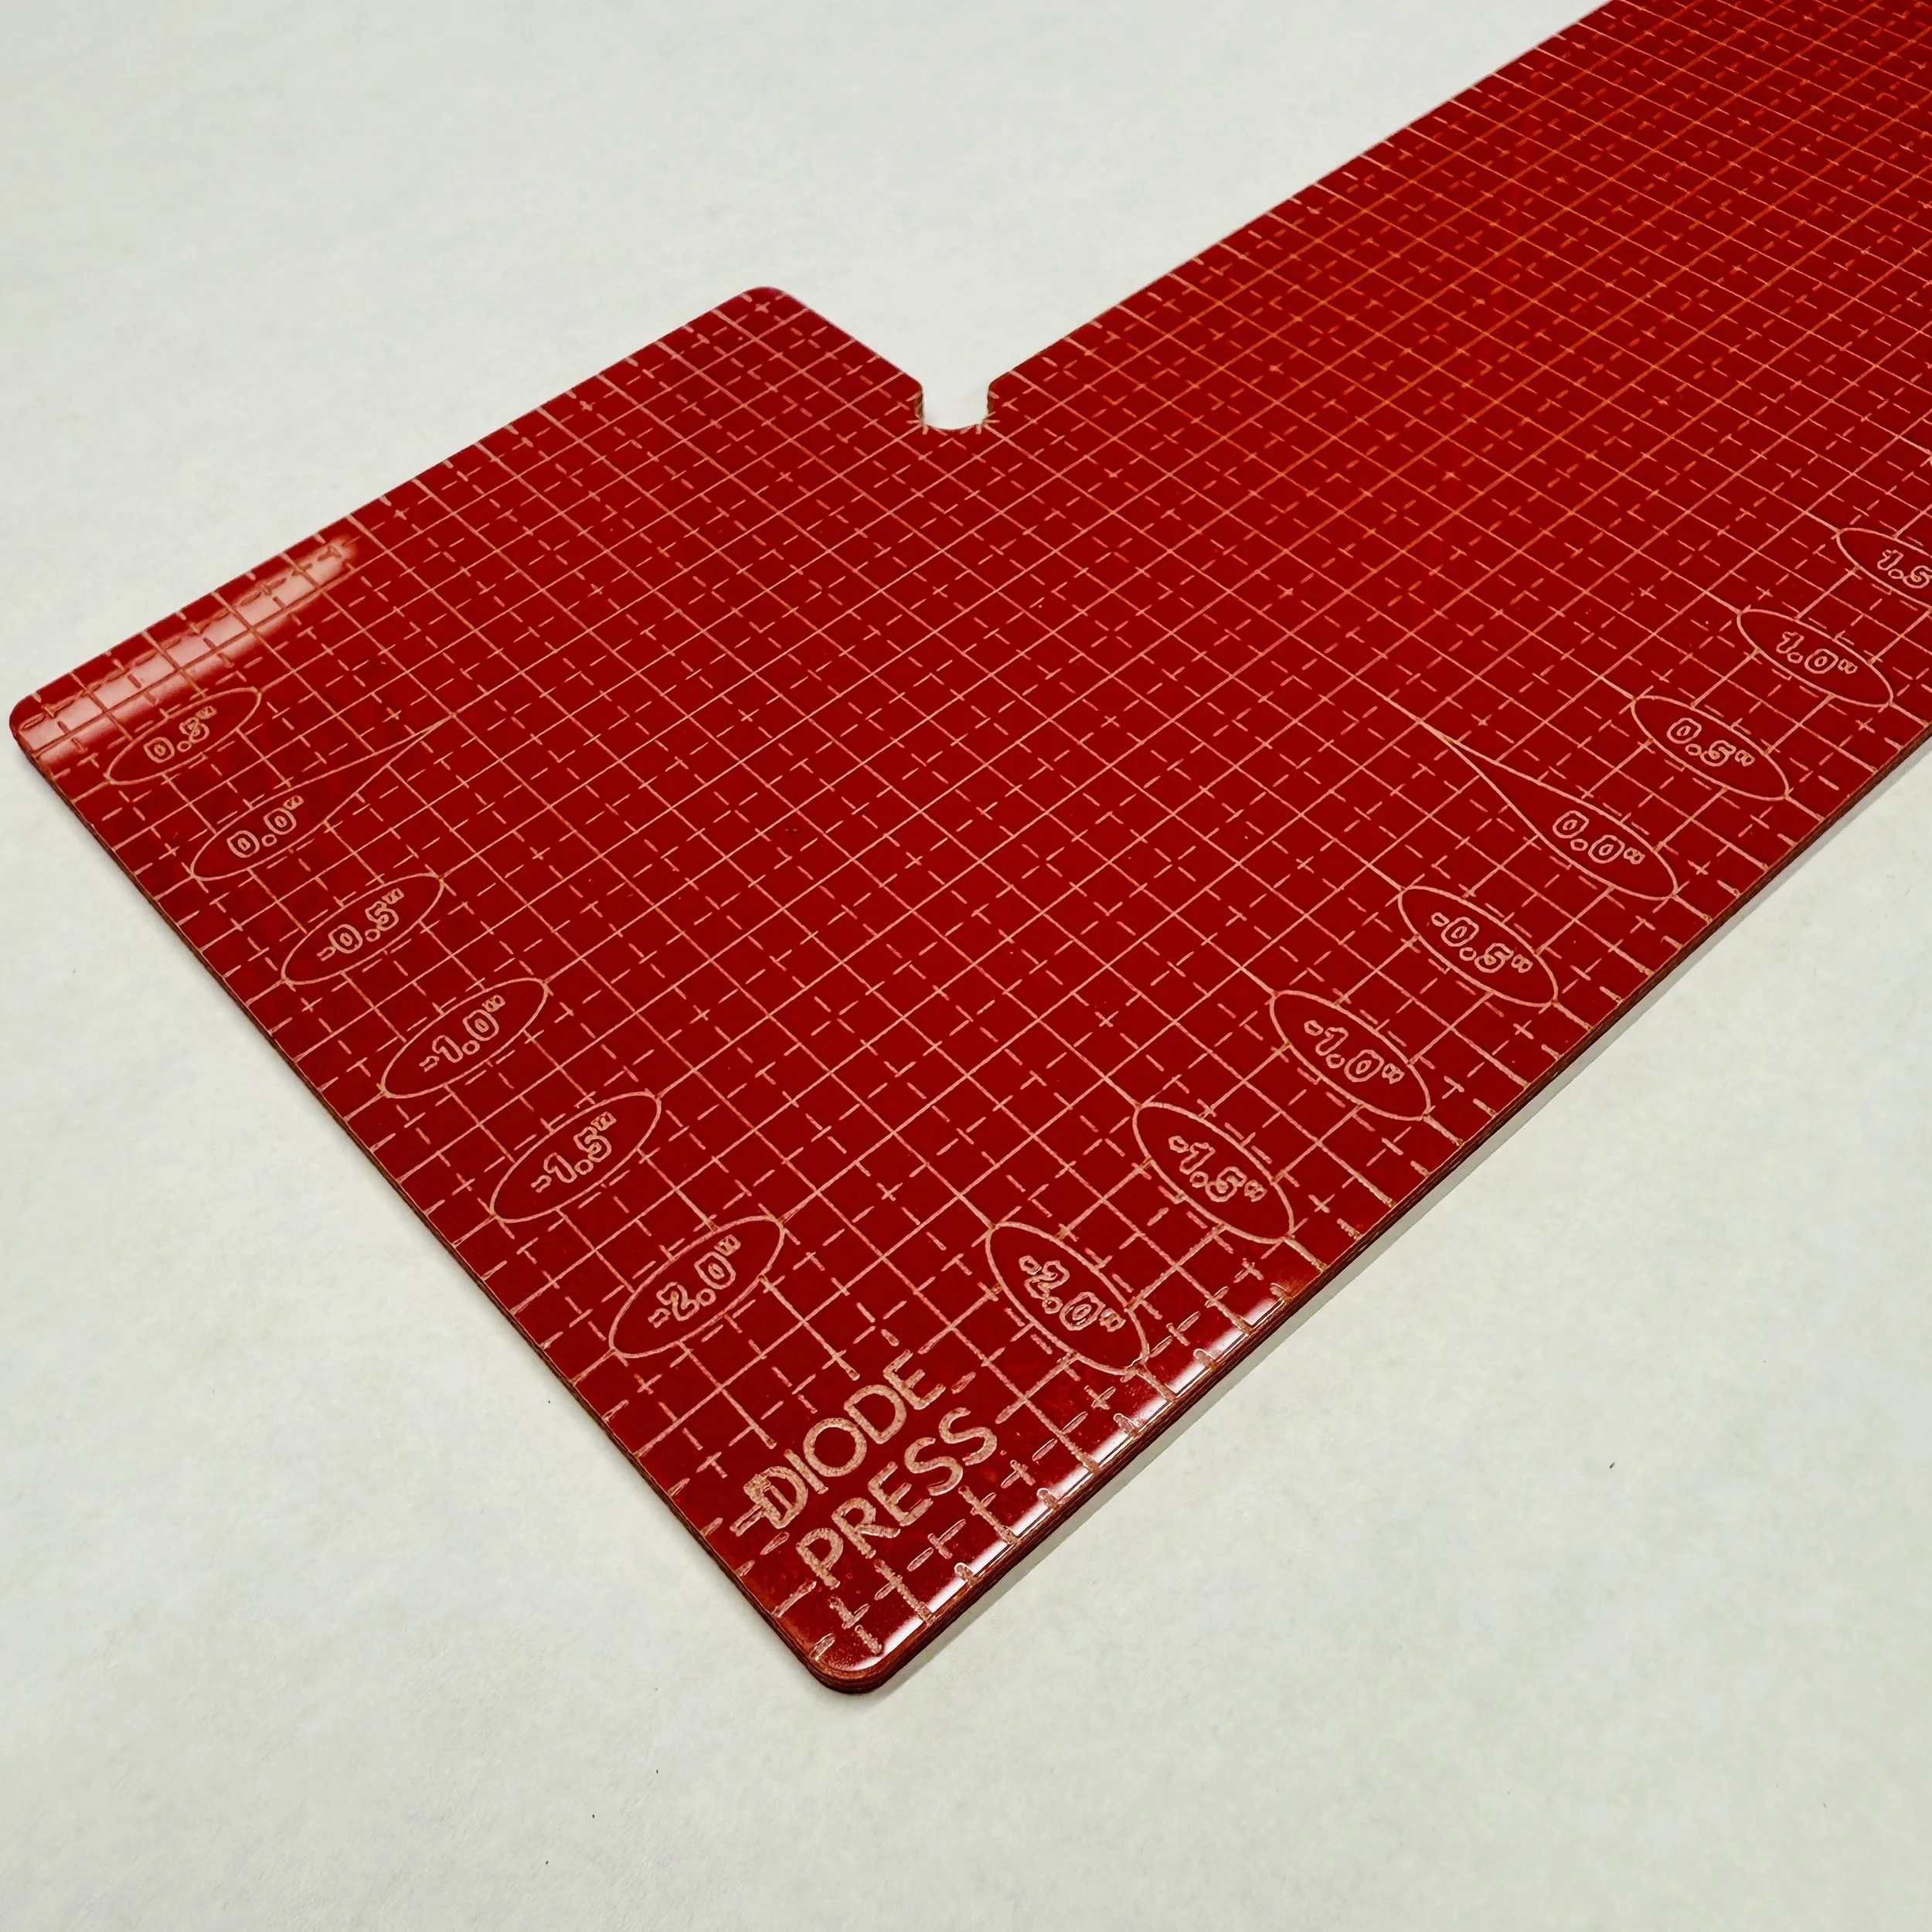 Image 8 of 20
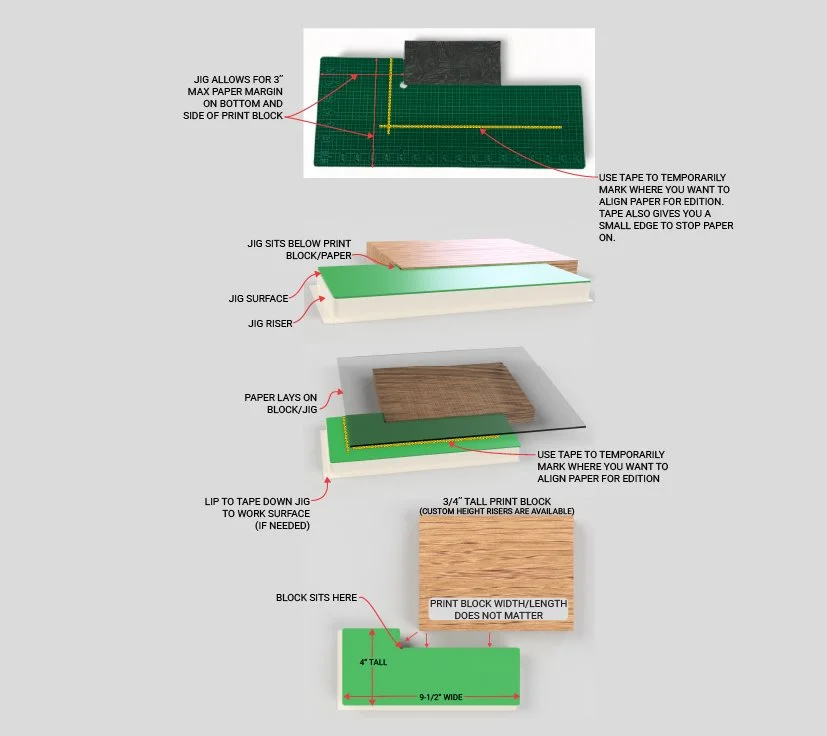 Image 9 of 20
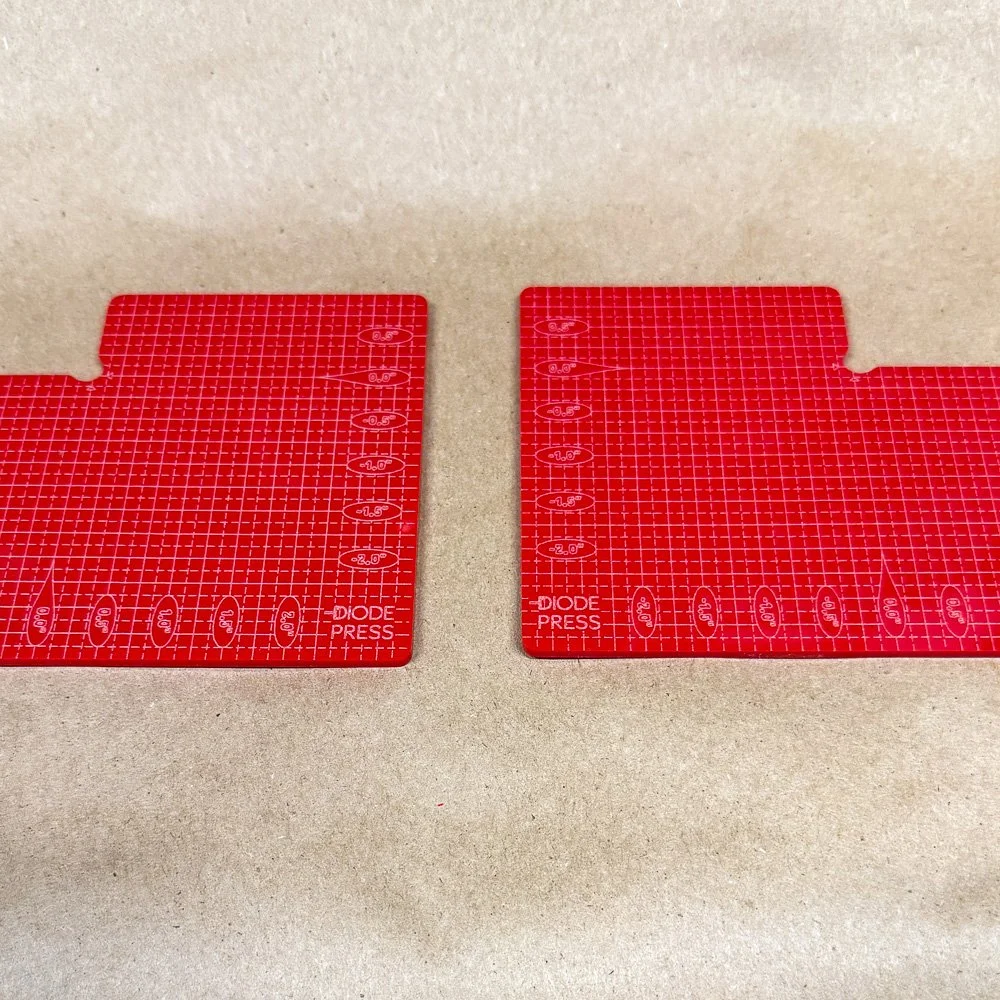 Image 10 of 20
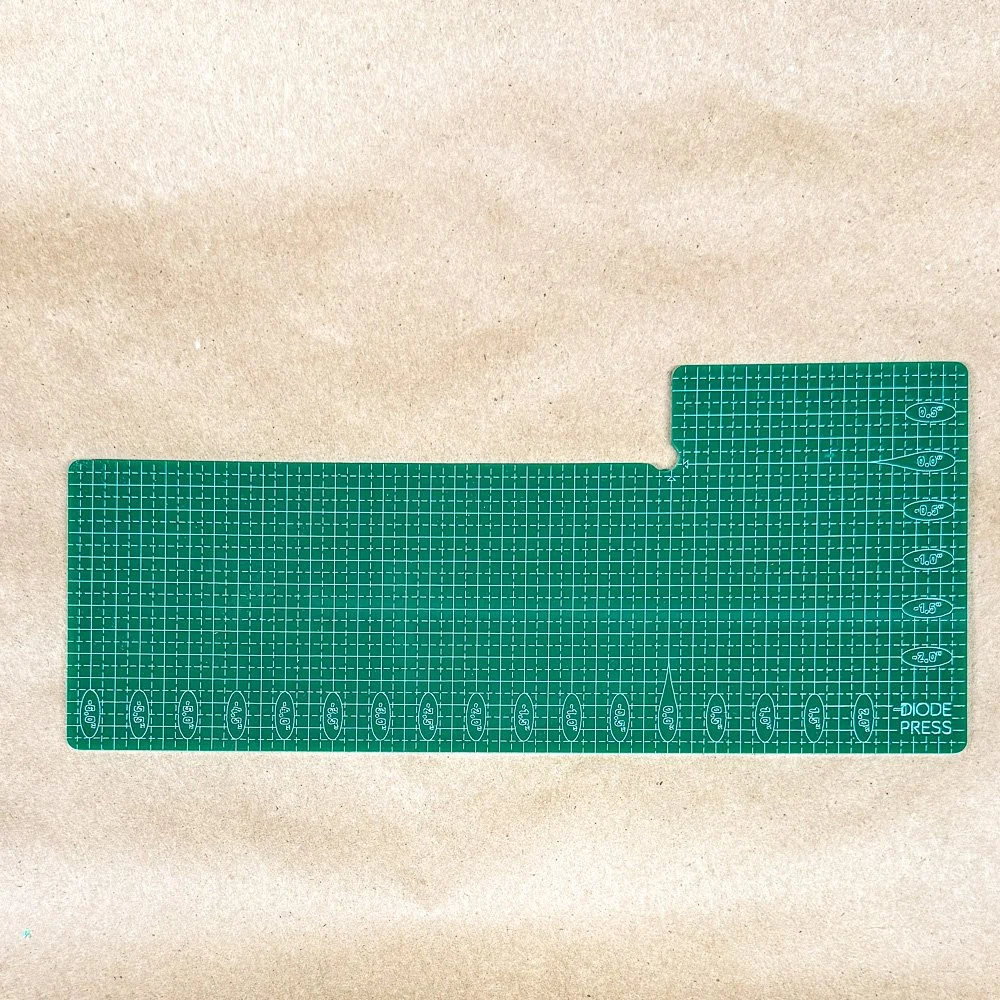 Image 11 of 20
 Image 12 of 20
 Image 13 of 20
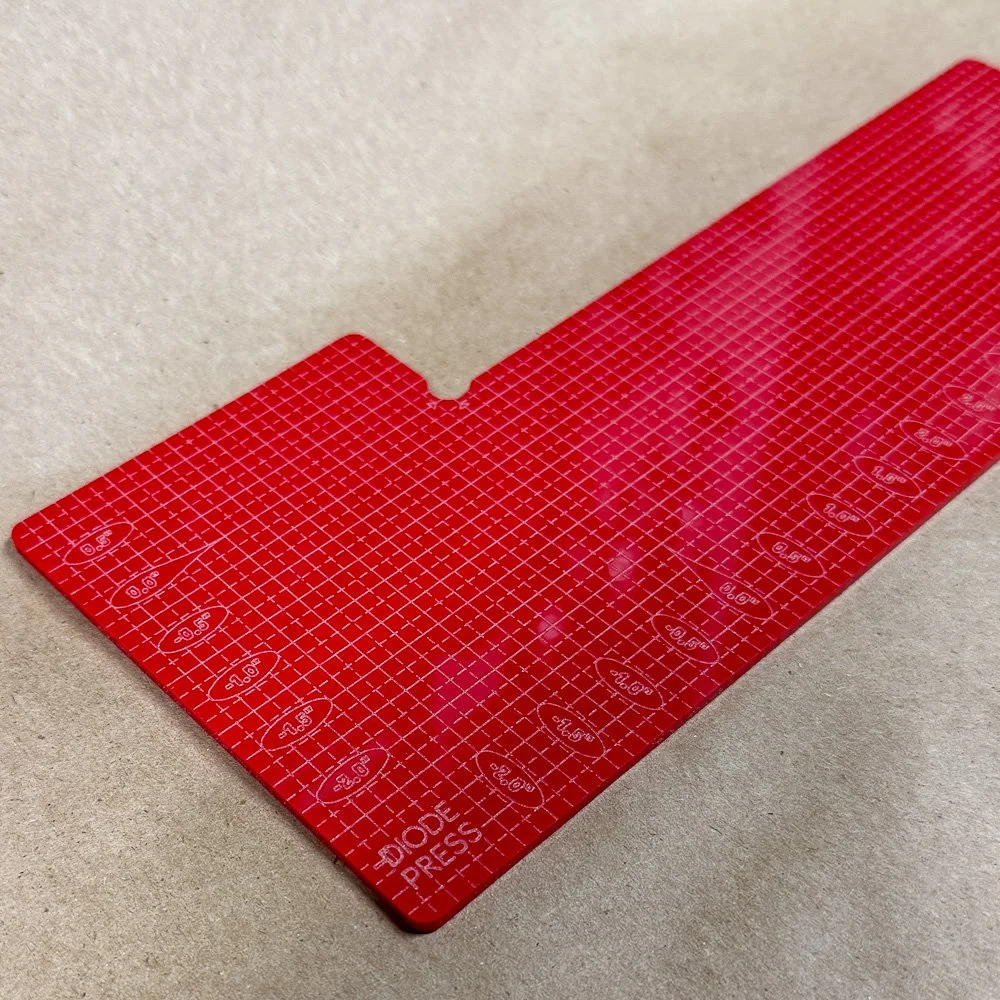 Image 14 of 20
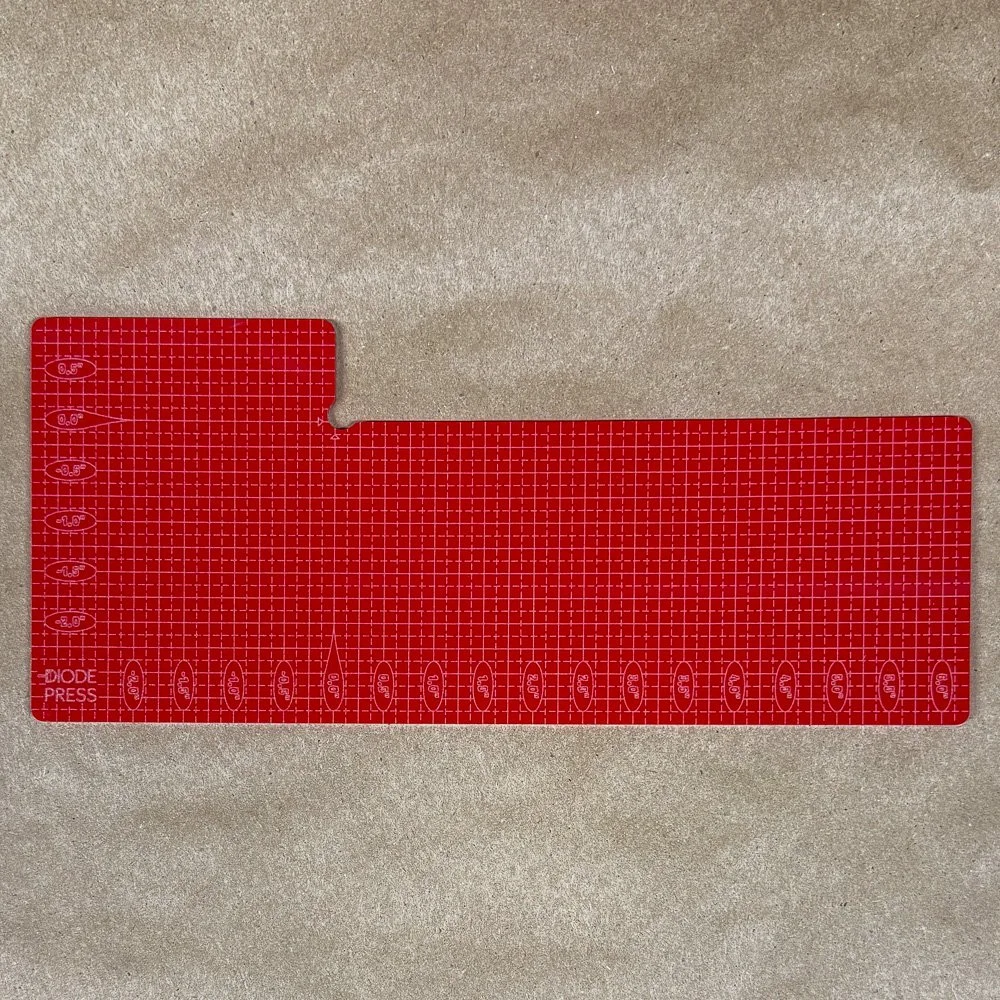 Image 15 of 20
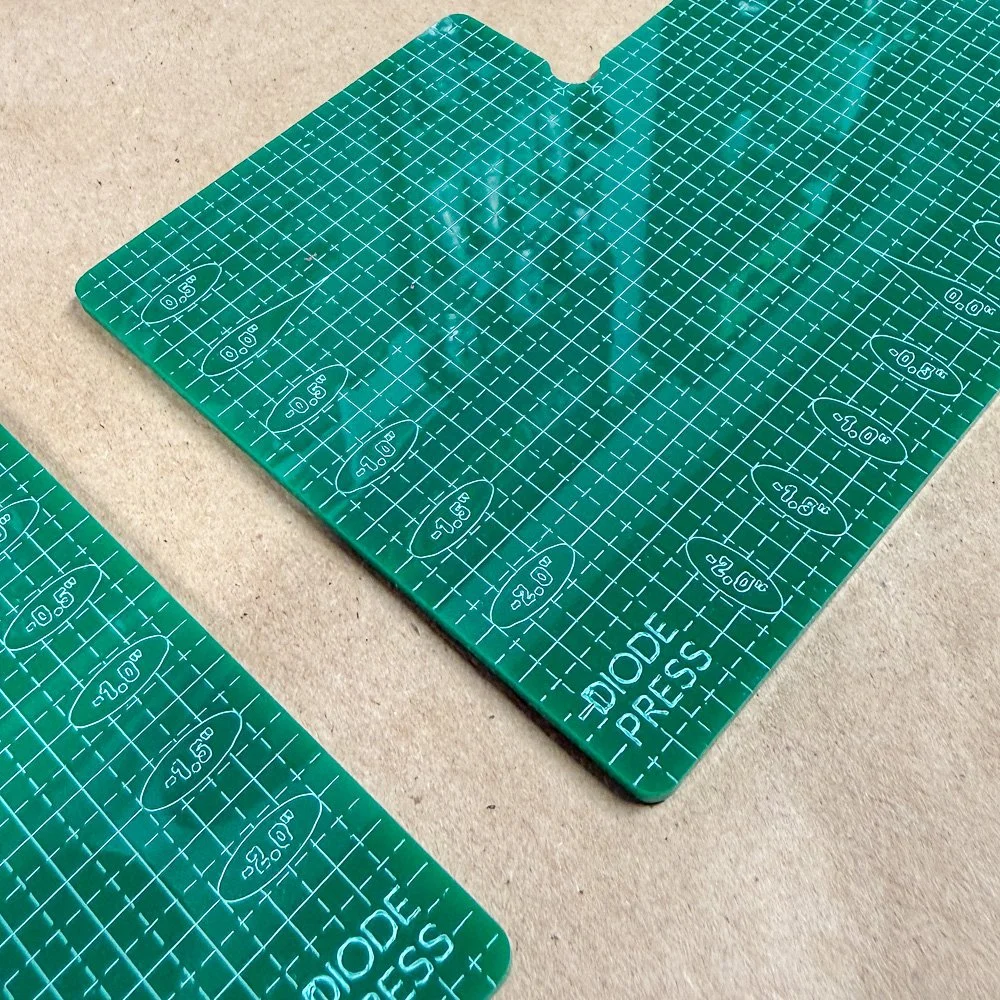 Image 16 of 20
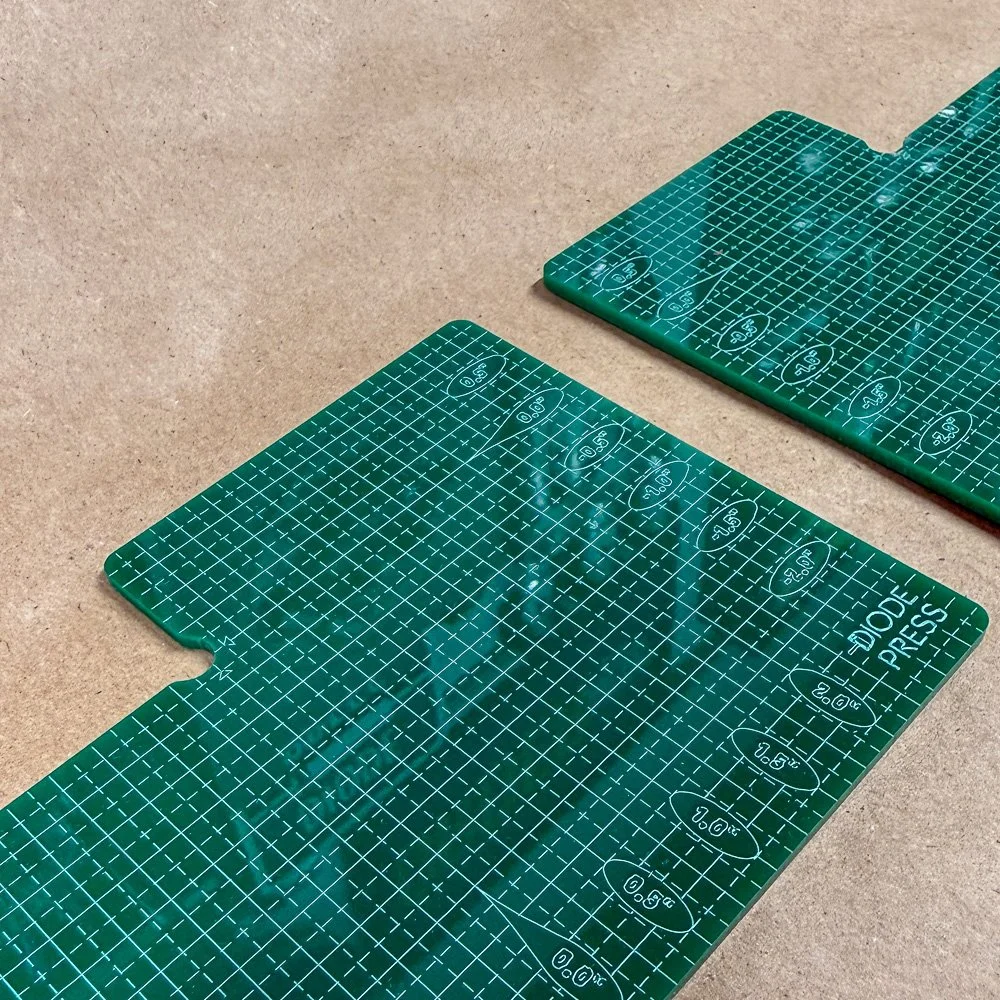 Image 17 of 20
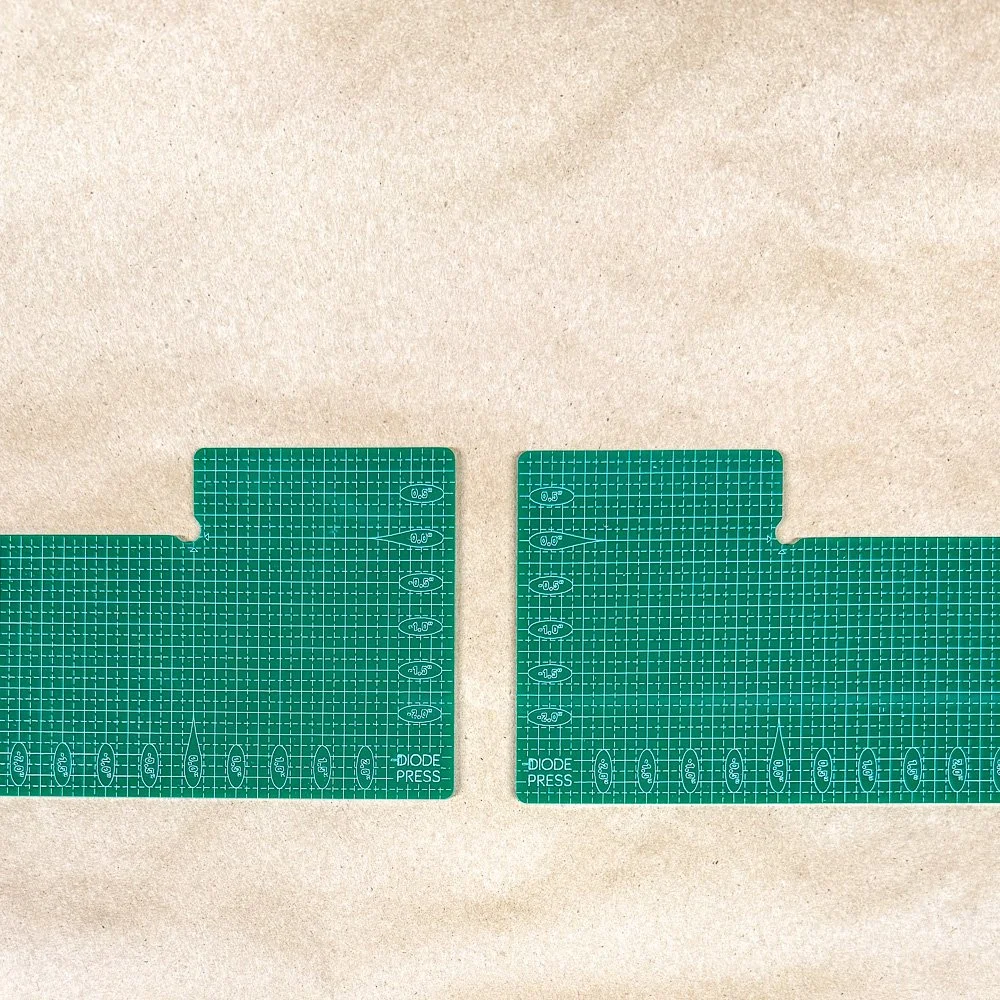 Image 18 of 20
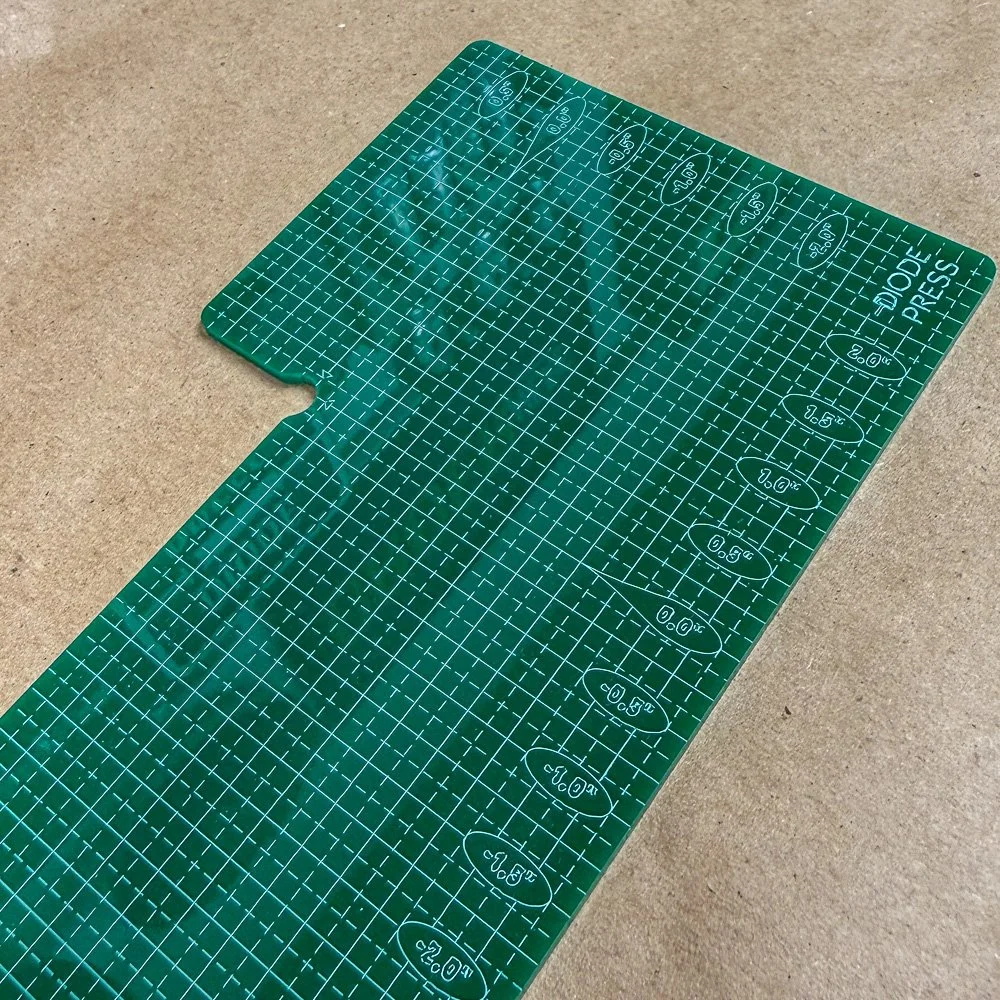 Image 19 of 20
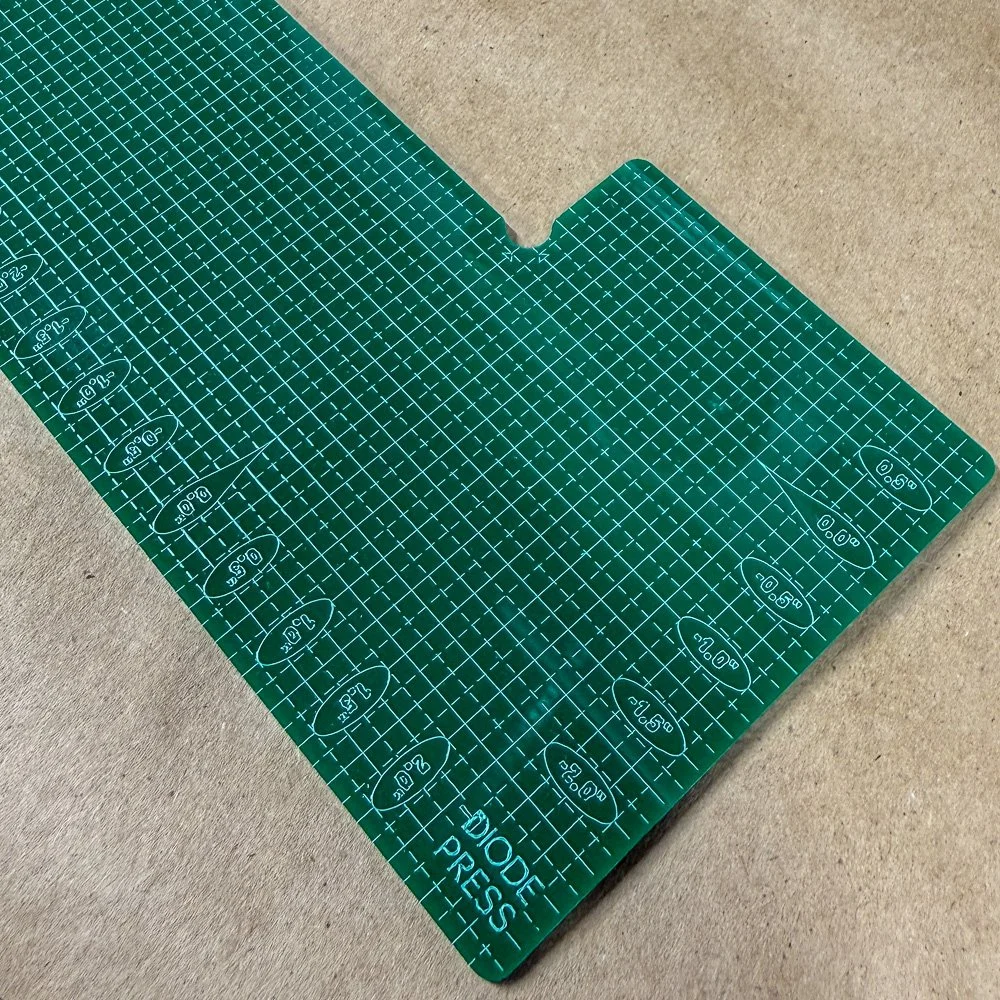 Image 20 of 20